Impact-Site-Verification: 2d862e82-6160-4387-9eef-0403d8c25c48
Polyurethane is a versatile material that can be used for various applications, from hardwood floors to car paint. One of the most appealing features of polyurethane is its quick curing time.
But one question that often comes up is: how long does it take for polyurethane to cure?
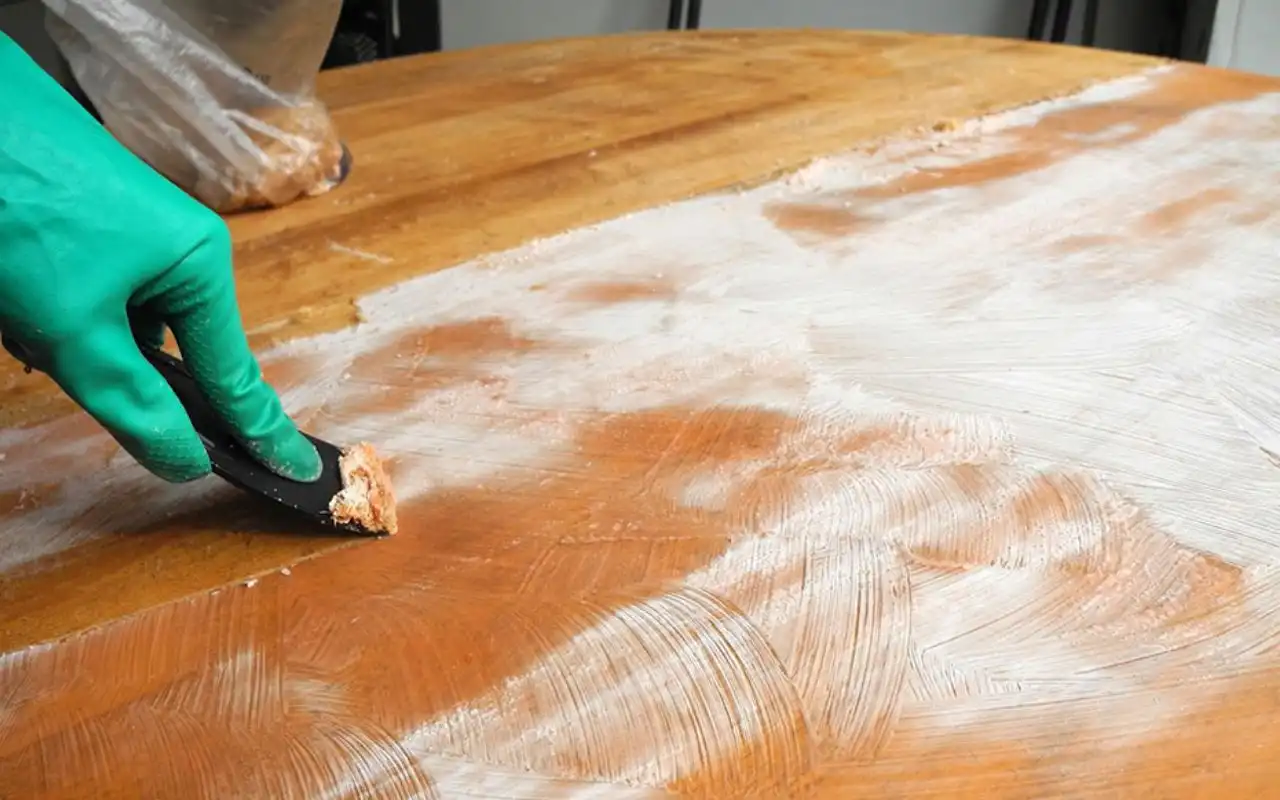
An analogy relevant to the main topic of polyurethane curing time is that it’s like waiting for the bread to rise. Just as the temperature and humidity can affect how long bread takes to rise, so can they affect how long it takes for polyurethane to cure. But once it’s done, you’ll have a beautiful finished product to enjoy
Drying v/s Curing
Drying and curing are two processes that are often confused with one another. But in reality, they are quite different.
- Drying is the process of removing solvents from a material. This can be done through evaporation, bacterial degradation, or chemical reactions. and the average drying time of polyurethane is about 24 to 48 hours.
- Curing, on the other hand, is the process of transforming a material into a stable state that is resistant to changes in temperature and humidity. This is usually accomplished by chemical reactions. it’s important to note that the curing time for polyurethane is about 30 days
So why is it important to know the difference between drying and curing? Because the process you use will determine the final properties of your product. If you want a strong, durable product, then you need to cure it. If you are looking for a quick turnaround time, then drying might be the way to go. But ultimately, the choice is up to you.
What are the different types of polyurethane and how long do they take to cure?
Polyurethane can be divided into two main categories:
- Water-based polyurethane
- Oil-based polyurethane
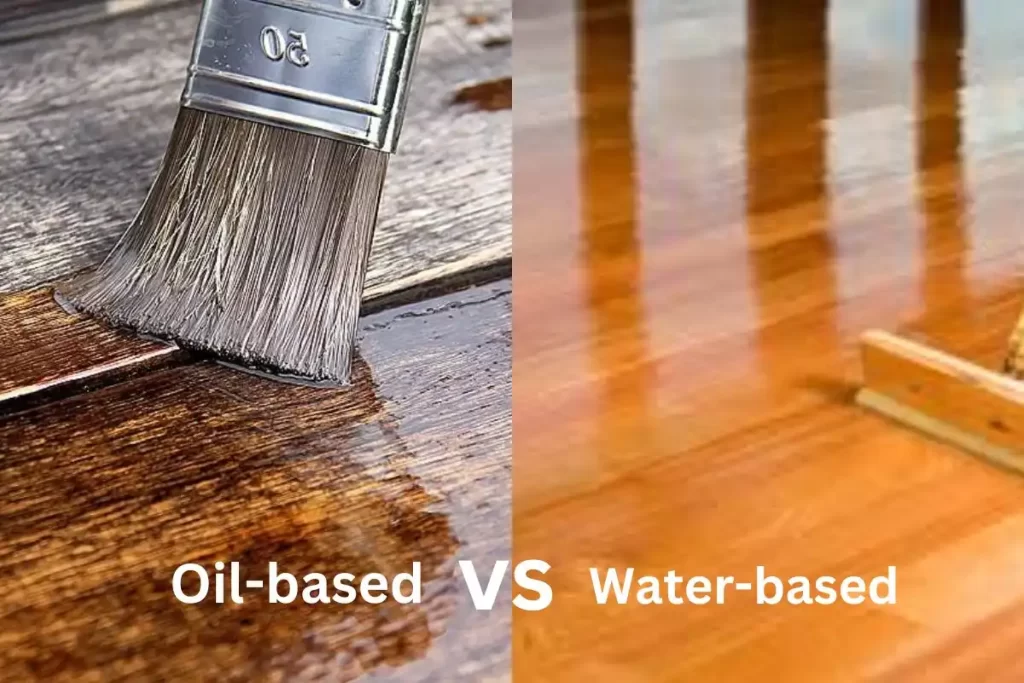
Water-based polyurethane
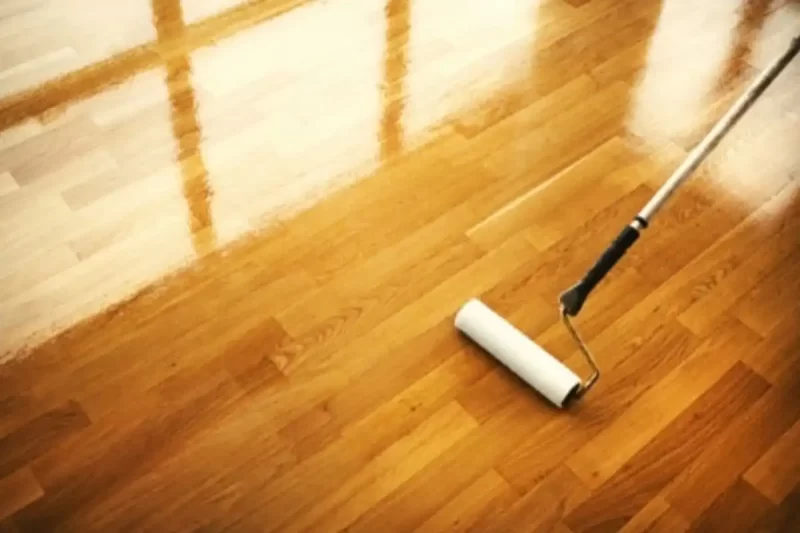
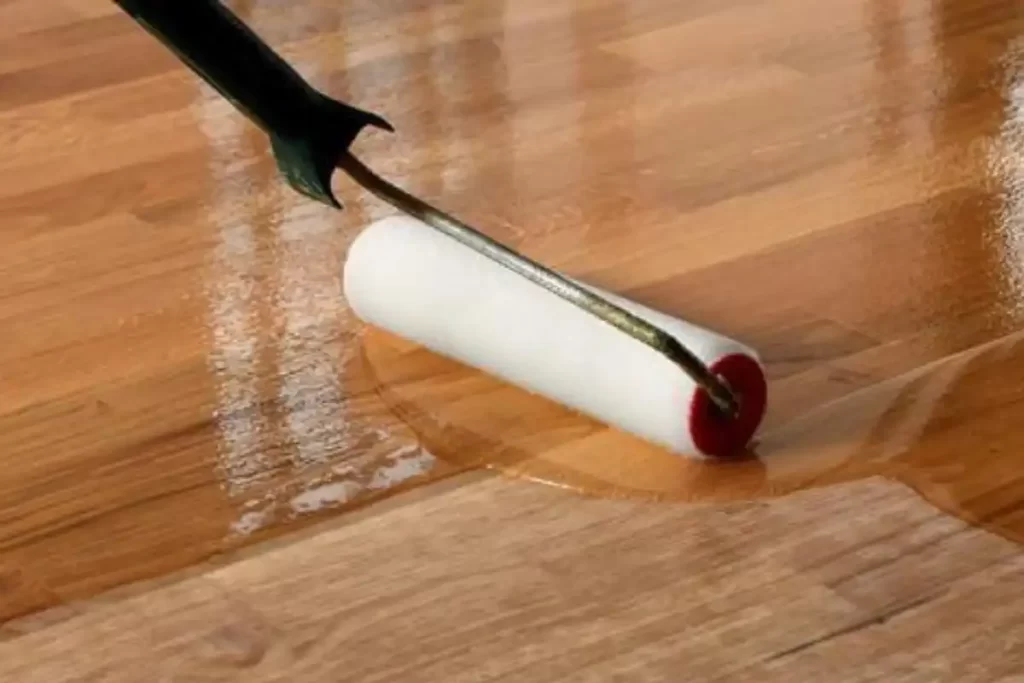
Water-based polyurethane is made with water as the primary solvent. Water-based polyurethane is a clear finish that dries quickly and is ideal for use on wood floors or furniture. It provides a durable, protective coating that won’t yellow or discolor over time. This type of polyurethane is typically used for interior projects because it has very little odor and dries quickly.
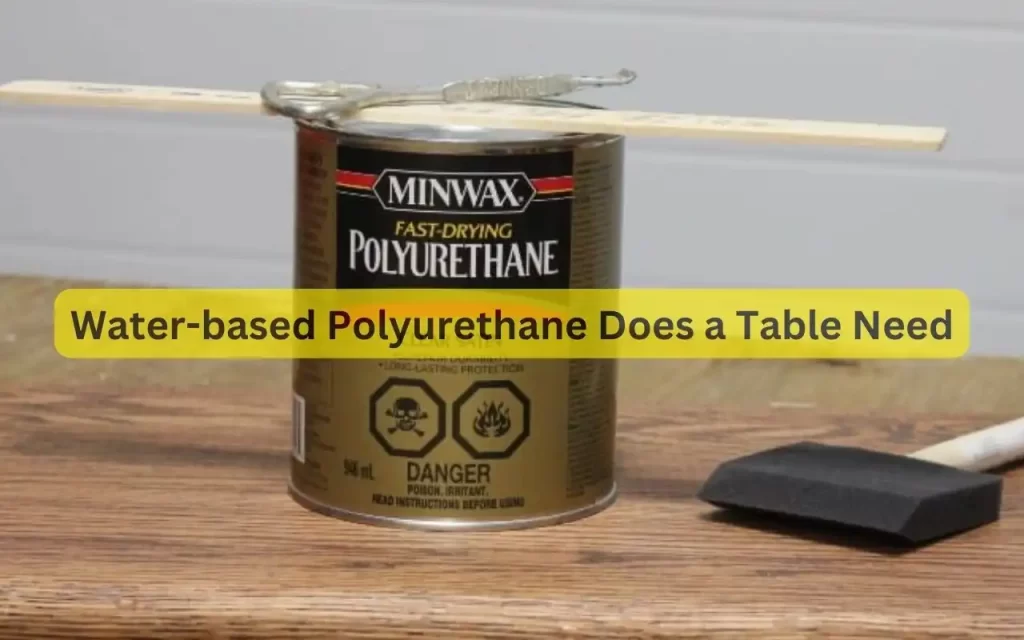
Water-based polyurethane cure timetable: Water-based polyurethane usually takes about 2-4 hours to dry completely and 30 days to cure.
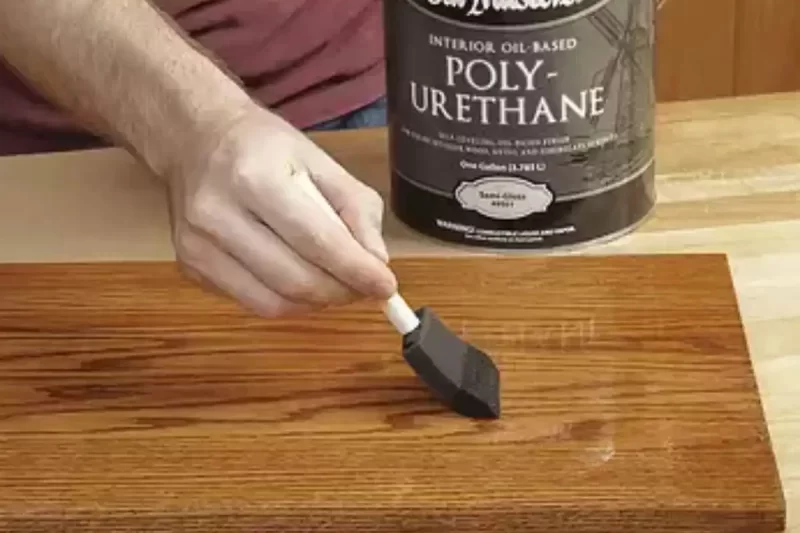
Oil-based polyurethane
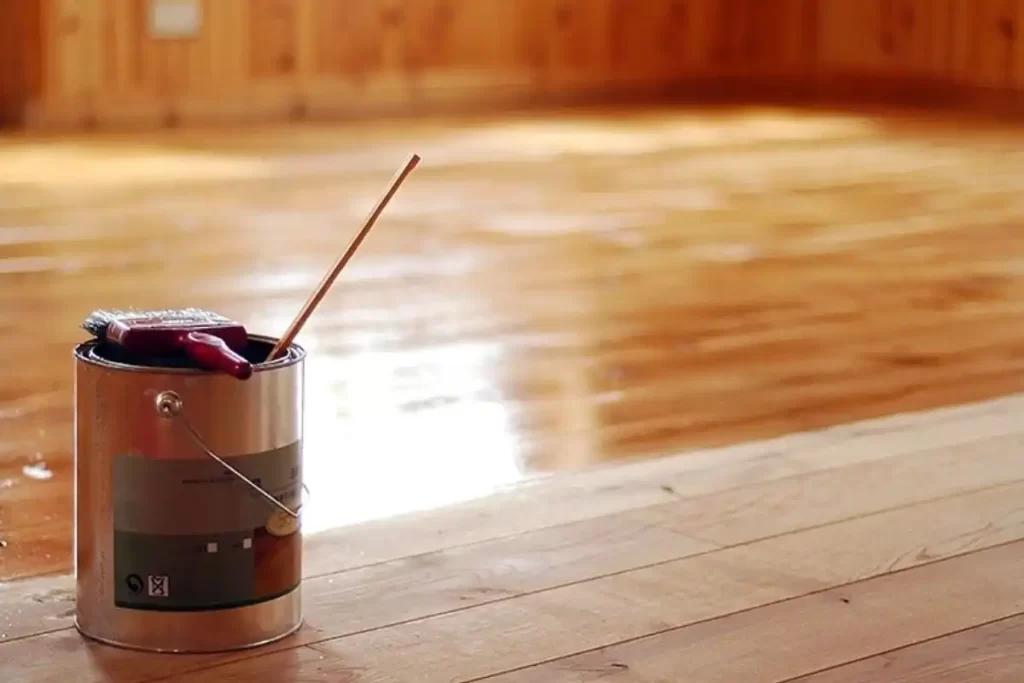
Oil-based polyurethane is made with oil as the primary solvent. Oil-based polyurethane is a thicker, more viscous finish that takes longer to dry but provides a richer, more lustrous finish. It’s ideal for use on cabinets or trim work. This type of polyurethane is typically used for exterior projects because it provides a more durable finish.
Oil-based polyurethane cure timetable: Oil-based polyurethane usually takes about 8-10 hours to dry completely and 30 days to cure.
What temperature is best for curing polyurethane?
Temperature is one of the most important factors in the curing process of polyurethane. If the temperature is too low, the reaction will be slowed down and the polyurethane will take longer to cure. If the temperature is too high, the reaction will be accelerated and the polyurethane might not cure properly.
The ideal temperature for curing polyurethane is between 70-80 degrees Fahrenheit. This is the temperature at which the reaction will proceed at the optimal rate. So next time you’re working on a project that requires polyurethane, make sure the area is well-ventilated and the temperature is controlled.
How can you tell if your polyurethane is curing correctly?
Polyurethane is an essential ingredient in many products, from hardwood floors to car seats. When it cures correctly, it is strong and durable. However, if the curing process is not carefully monitored, the polyurethane can become weak and brittle. As a result, it is important to know how to tell if your polyurethane is curing correctly. Here are seven tips:
- Check the manufacturer’s instructions. They will have specific guidance on how to cure the polyurethane correctly.
- Look for changes in color. As polyurethane cures, it will often change color from a milky white to a yellowish brown.
- Check for changes in thickness. Cured polyurethane will be thicker than uncured polyurethane.
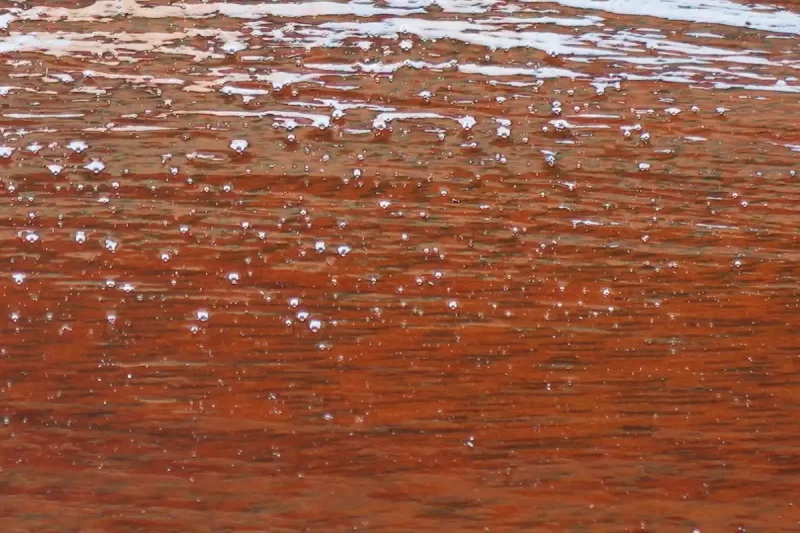
- Look for bubbles. Bubbles in the polyurethane are a sign that it has not been cured correctly.
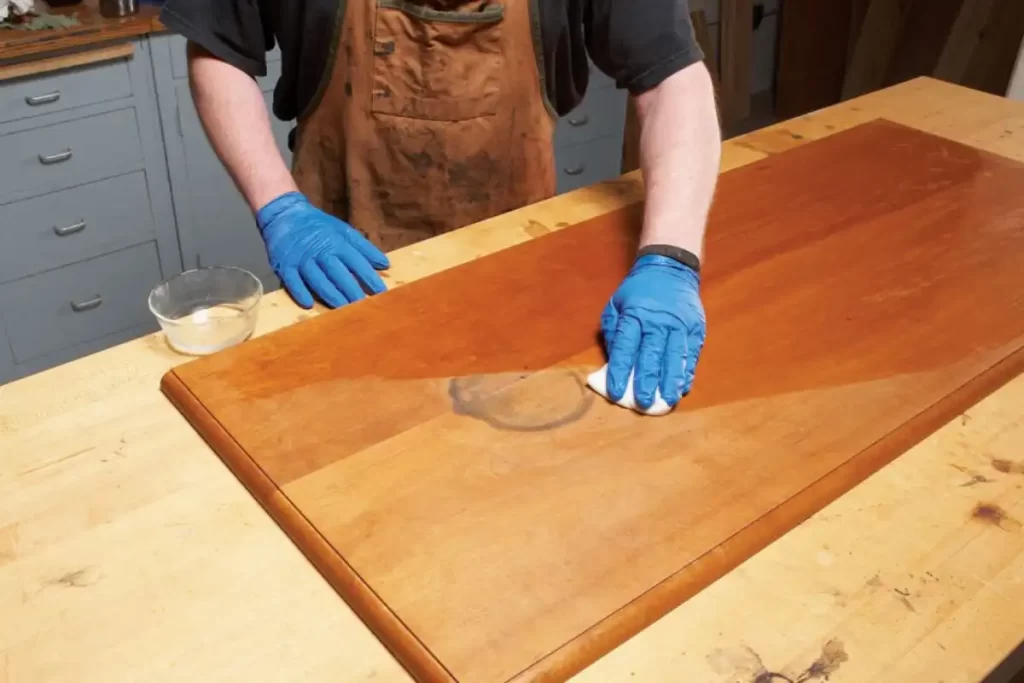
- Check for changes in texture. Cured polyurethane should be smooth, while uncured polyurethane will be tacky to the touch.
- Look for cracks. Cracks in the polyurethane are another sign that it has not been cured correctly.
These are just a few of the ways you can tell if your polyurethane is curing correctly. If you have any doubts, it is always best to consult with a professional.
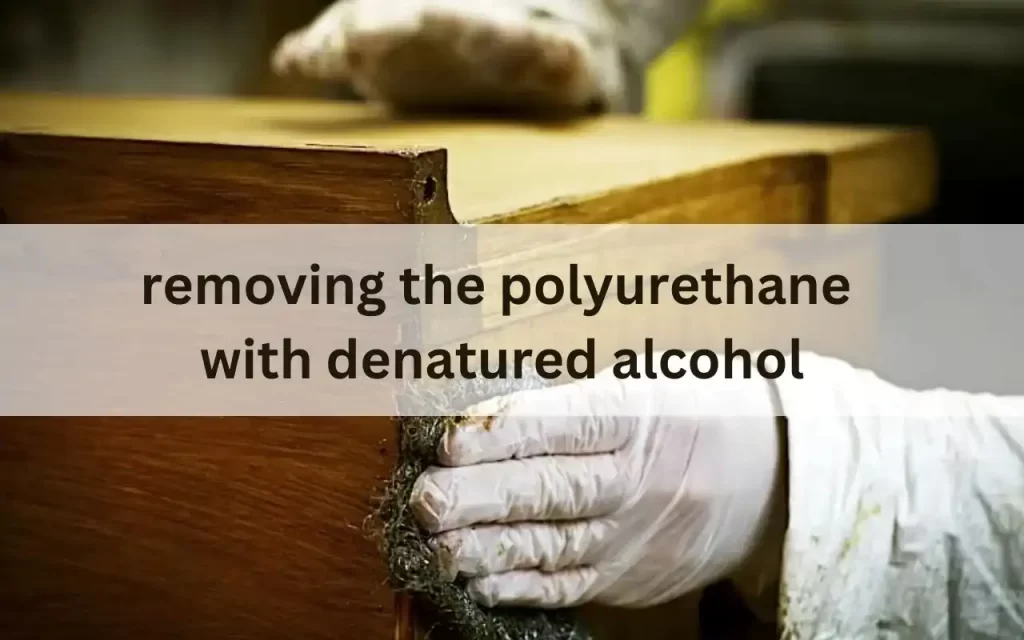
What factors affect the curing time of polyurethane?
While polyurethane is known for its superior performance, one downside is that it can take days or even weeks to cure completely. So, what factors affect the curing time of polyurethane? Let’s take a closer look.
Humidity
The first factor that affects curing time is humidity. If the air is too dry, the finish will cure more slowly. On the other hand, if the air is too humid, the finish may never fully harden. For best results, apply polyurethane when the relative humidity is between 40-60%.
Ventilation
The major factor that can impact curing time is ventilation. Good ventilation helps to promote air circulation, which can speed up the curing process. However, if there’s not enough ventilation, the atmosphere can become saturated with fumes from the finish, which can cause cracks or bubbles in the dried coating.
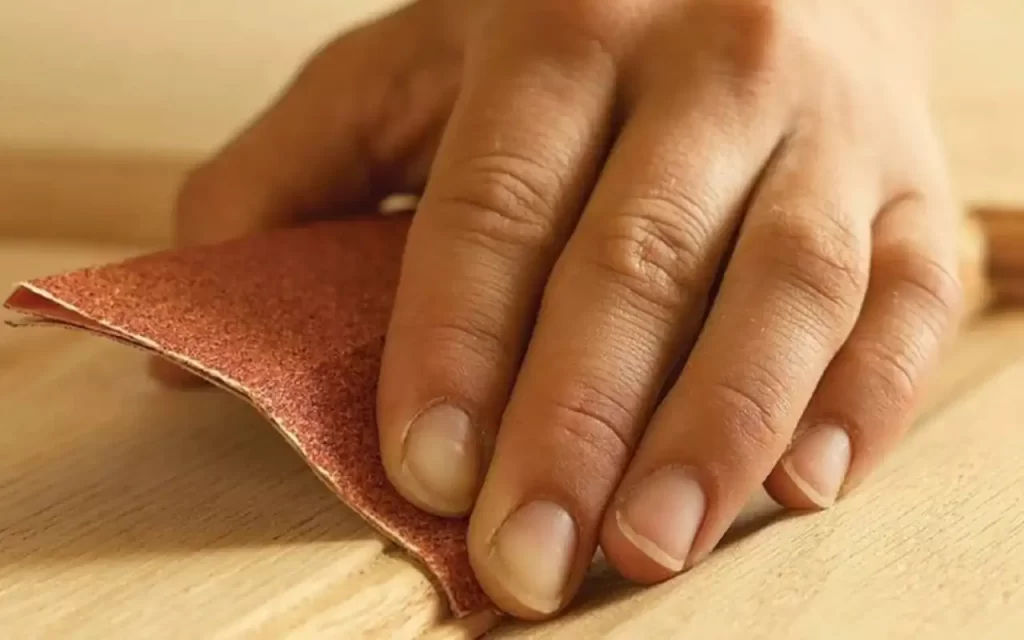
Surface nature or porosity.
The important factor that affects curing time is substrate porosity. If you’re applying polyurethane to a porous material like wood or concrete, it will take longer for the finish to cure than if you’re applying it to a non-porous material like metal or glass. The reason for this is that pores trap moisture, which slows down the polymerization process.
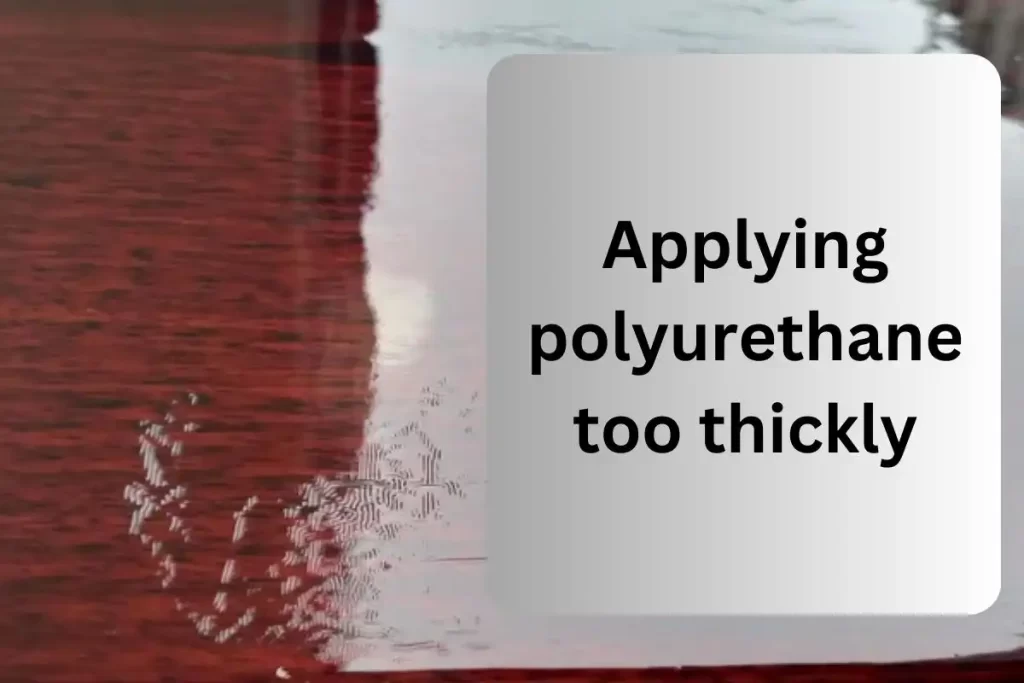
How thickly do you apply the finish.
Finally, thickness also plays a role in curing time. A thicker coat of polyurethane will take longer to cure than a thinner coat. In general, it’s best to apply several thin coats rather than one thick coat.
By following these guidelines, you can ensure that your project turns out just the way you want it to.
Frequently Asked Question
The first coat of polyurethane will usually dry in about 24 hours. However, it is best to wait at least 48 hours before applying the second coat. So that the first coat has time to cure fully; when fully cured, it will be harder and more durable.
If you need to speed up the curing process, you can use a hair dryer or fan to help circulate the air around the project. This will help evaporate the solvent, which will speed up the curing process.
It is not recommended to apply a second coat of polyurethane before the first coat has fully cured. This can cause the finish to become soft and gummy. If you need to speed up the curing process, you can use a fan to help circulate the air around the project.
Final Thoughts
Polyurethane is a versatile material that can be used for many different projects. It is important to understand how long it will take for the polyurethane to cure so you can plan your project accordingly. We hope this guide has been helpful and we invite you to visit our blog regularly for more tips and tricks on using polyurethane in your next DIY project.