
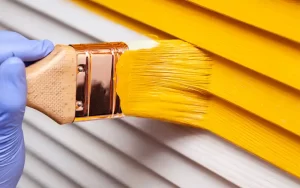
Do you have an old piece of wood furniture that has been painted with acrylic paint? Are you looking for a way to remove it without damaging the wood surface? There’s a simple, easy way to remove acrylic paint from wood surfaces with minimal effort. So, put down your sandpaper and get ready to learn how to remove acrylic paint from furniture.
In this guide, you will learn the 6 methods and steps to remove Acrylic Paint from wood. You’ll be able to make your furniture look great in no time. Let’s dive in.
Note: Always test removing acrylic paint in an inconspicuous area first to ensure it won’t damage the finish of your furniture.
Is it Easy to Remove Acrylic Paint from Furniture?
Many people find that removing acrylic paint can be a real challenge, especially if the paint has been on the furniture for a long time. However, with the right tools and techniques, it is possible to remove acrylic paint from furniture without too much trouble.
So before you give up hope, know that there are a few methods you can try that might do the trick. With a little elbow grease and some patience, you may be able to get that paint-stained out after all. So next time you find yourself in this predicament, don’t despair; give one of these methods a try instead.
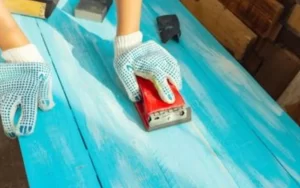
Method 1: How to Remove Acrylic Paint from the Furniture with a Heat Gun?
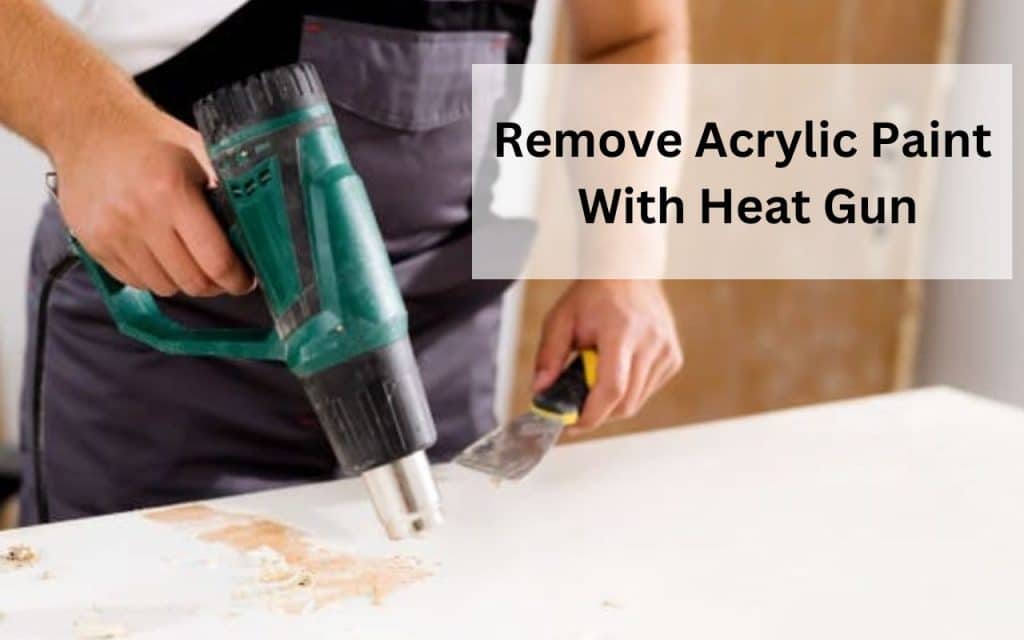
It’s every artist’s nightmare – you’re in the middle of a painting project and suddenly realize your paint has somehow ended up on the furniture. If you’re working with acrylic paint, this problem can be especially frustrating, as it is notoriously difficult to remove once it dries.
Thankfully, there is a relatively simple solution: using a heat gun. Heat guns are readily available at most hardware stores, and they can be used to efficiently remove dried acrylic paint from surfaces like wood and glass. The process is fairly straightforward:
Here’s what you need to do:
- Set the heat gun to low power and hold it about six inches from the paint.
- Slowly move the heat gun back and forth over the paint until it starts to blister.
- Once the paint has blistered, use a putty knife to scrape it off.
- Use a damp cloth to wipe away any residue.
With a little patience and some elbow grease, you can easily remove paint from your furniture without any harmful chemicals. So next time you’re in a pinch, don’t reach for the paint stripper; reach for a heat gun instead.
Method 2: How to Remove Acrylic Paint from Furniture with Rubbing Alcohol?
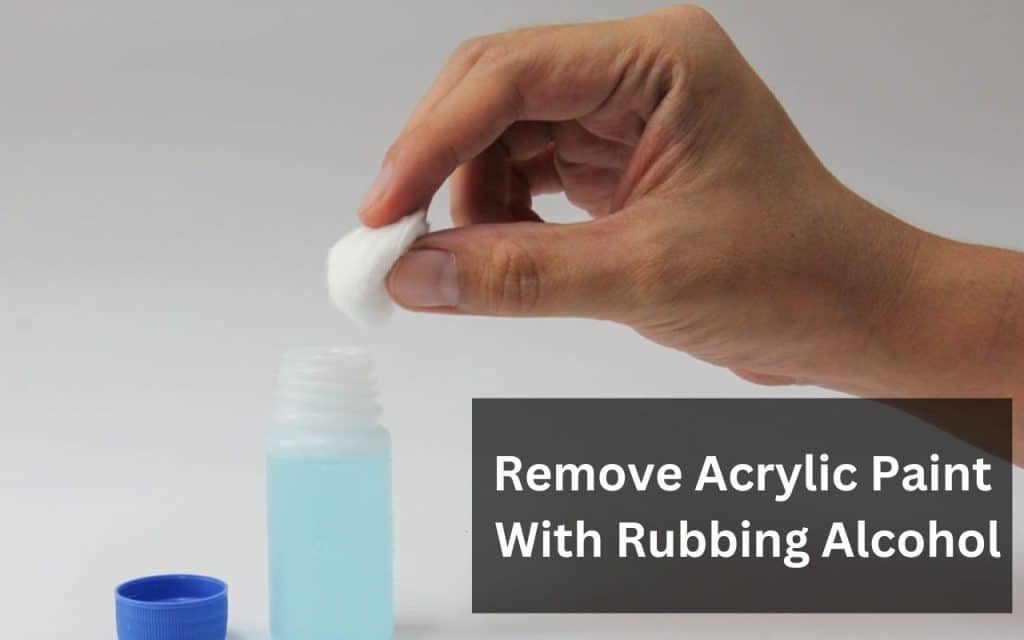
There is one easy way to remove dried acrylic paint from furniture: rubbing alcohol. This method is simple and effective and will leave your furniture looking as good as new. How can rubbing alcohol remove dried acrylic paint from furniture?
Here’s how:
- First, pour a small amount of rubbing alcohol onto a clean cloth.
- Then, gently rub the cloth over the area where the paint is located. The alcohol will break down the paint, making it easy to wipe away.
- Just be sure to go slow and avoid scrubbing too hard, as this could damage the finish on your furniture.
- Once you’ve removed as much paint as possible, rinse the area with warm water to remove residual alcohol.
- Then, dry the area with a clean towel and admire your handiwork!
With this simple technique, you can remove pesky paint accidents quickly.
Method 3: How to Remove Acrylic Paint from the Furniture with White Vinegar?
Acrylic paint is a versatile and durable type of paint that can be used on various surfaces, including furniture. However, if you accidentally get acrylic paint on your furniture, you may wonder how to remove it. While there are a number of commercial products that you can purchase, white vinegar is an effective and inexpensive way to remove acrylic paint from furniture.
Just follow these easy steps:
- Pour some white vinegar into a bowl.
- Dip a clean cloth into the vinegar and blot the painted area.
- Repeat steps 2 and 3 until the stain is gone.
- Wipe the area with a clean, damp cloth to remove any residue.
And that’s it You’ll have your furniture looking good as new in no time. So next time you’re dealing with an acrylic paint spill, reach for the white vinegar. It’s your best bet to remove those tough stains.
Method 4: How to Remove Acrylic Paint from the Furniture with a Steam Cleaner?
Steam cleaning is another effective way to remove acrylic paint from furniture. This method works by using the power of steam to loosen the paint from the surface of the furniture, making it easy to wipe away. Plus, it’s a great way to clean your furniture without harsh chemicals.
Here’s what you need to do:
- Fill your steam cleaner with water and turn it on.
- Hold the steam cleaner nozzle against the paint stain and let the steam work its magic.
- After a few minutes, the paint should start to loosen, and you can wipe it away with a clean cloth.
- Repeat steps 2 and 3 until the acrylic paint is gone.
- Wipe away any residue with a cloth that is slightly damp.
That’s all it takes! A little steam power can quickly remove any dried paint from your furniture. So the next time you have an acrylic paint spill, use a steam cleaner – it will eliminate the stain with ease.
Method 5: How to Remove Acrylic Paint from Furniture Using Chemical Methods?
The chemical method means using some toxic solvent to remove the paint. There are a few different chemicals that can be used for this purpose, but the most common one is the paint stripper. Paint stripper is a powerful chemical that can remove even the most stubborn paint stains.
However, it’s important to use caution when using this method, as the chemicals can be harmful if used incorrectly. If you’re going to use this method, be sure to follow these steps:
- Pour a small amount of paint stripper onto a clean cloth.
- Gently rub the cloth over the area where the paint is located.
- Be sure to go slow and avoid scrubbing too hard, as this could damage the finish on your furniture.
- After a few minutes have passed, the paint will begin to loosen. Once it does, you can wipe it away with any clean cloth.
- Repeat the steps as many times as necessary until the acrylic paint is completely washed away.
- Wipe away any residue with clean water.
You may easily remove dried paint from your furniture with a little stripper. So next time you have an acrylic paint spill, reach for the paint stripper – it’s a potent and successful method to eliminate those stubborn stains.
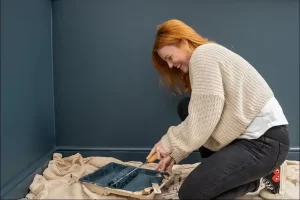
Method 6: How to Remove Acrylic Paint from Furniture Using Dish Soap?
What is dish soap? You probably have a bottle of it in your kitchen right now, but have you ever really thought about what it is and what it does? Dish soap is a household cleaning product designed to remove grease and grime from dishes, cookware, and other surfaces. It usually comes in a liquid form and is typically used with warm water. Dish soap can also be used to remove acrylic paint from furniture.
Just follow these simple steps, and you’ll have your furniture looking good as new in no time.
- First, create a soapy solution by mixing dish soap with water.
- Then, apply the solution to the affected area and let it sit for a few minutes.
- Next, use a clean cloth to scrub away the paint. Be sure to rinse the area well afterward to remove any soap residue.
With just a little elbow grease, you can easily remove acrylic paint from your furniture using dish soap! So why wait? Give it a try today.
Frequently Asked Questions
The best way to remove acrylic paint from furniture will depend on the type of furniture you have and the extent of the damage. For lightly stained furniture, you may be able to use a steam cleaner or dish soap to remove the paint. For more heavily stained furniture, you may need to use a chemical paint stripper.
One way to prevent paint damage to your furniture is to use a primer before painting. A primer will create a barrier between the paint and the furniture, protecting it from any potential damage. Another way to protect your furniture is to use painter’s tape along the edges. This will help create a clean line and prevent paint from spilling onto your furniture.
If you have paint on your hands, try using mild soap and warm water to wash it away. If the paint is more stubborn, you may need a stronger cleaning solution, such as acetone or nail polish remover. Always be sure to test any cleaning solution in an inconspicuous area first to avoid damage.
Last Words
Acrylic paint is a popular choice for furniture because it dries quickly and doesn’t require many coats to get the desired look. However, if you decide to change your mind about the color or want to remove it completely, it can be a challenge.
We’ve gathered the best methods from experts and compiled them into this comprehensive guide on how to remove acrylic paint from furniture. If you’re still having trouble after trying these methods, don’t hesitate to reach out for help.
Visit our blog regularly for more helpful tips like this one.


 A crystalline concrete waterproofing agent is a material used to prevent water from penetrating the pores of the concrete. In addition, the crystalline concrete waterproofing agent helps to increase the density of the concrete, making it more resistant to water and weathering.


 Assuming that you want to cover up the oil-based paint with a new layer of paint, there are a couple of key things to keep in mind.
  The short answer is yes; you can paint over oil-based paint with another layer of oil-based paint. The long answer is a bit more complicated. If the previous layer of paint is in good condition, you can simply add another layer on top. But if the previous layer of paint is chipping, peeling, or otherwise damaged, you’ll need to do prep work before painting.
 If you’ve ever painted a room in your home, you’re probably familiar with the myriad paint types and finishes available. One of the more popular choices for