
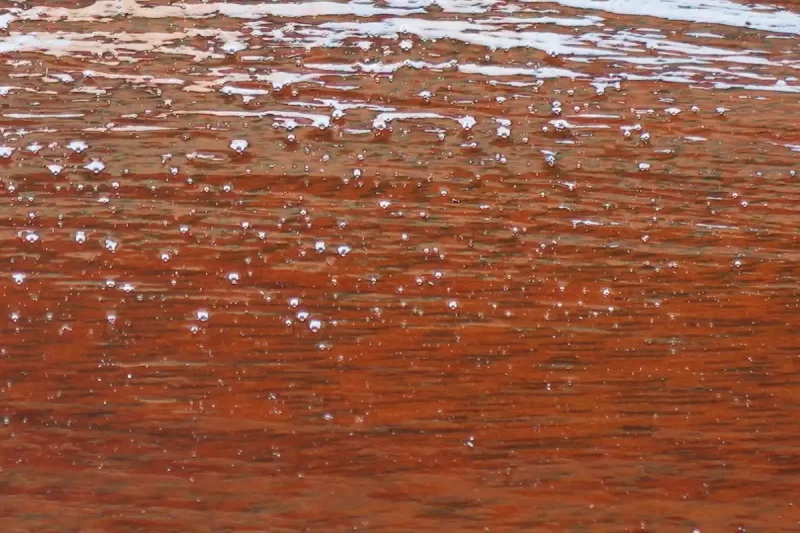
Have you ever looked at a freshly varnished piece of wood and noticed unsightly bubbles marrying the smooth, even surface? While this may seem like a difficult problem to remedy, there are actually a few simple steps you can take to remove bubbles from a polyurethane finish.
Polyurethane is a durable and moisture-resistant finish that is commonly used on hardwood floors, furniture, and trim. It is available in both oil- and water-based formulas and can be applied with a brush, roller, or sprayer. One of the advantages of polyurethane is that it dries quickly, which prevents dirt and dust from becoming trapped in the finish.
However, this also means that bubbles can form if the finish is not applied properly. Bubbles in polyurethane are one of the most common finishing problems. Polyurethane is one of the most popular finishes for woodworking projects because it is durable and easy to apply. But bubbles can ruin an otherwise perfect finish.
In this blog post, we will discuss why the bubbles form and how to remove them. so that your next project will have a flawless finish.
What are some of the common causes of bubbling in polyurethane?
When it comes to wood finishes, there are few products that can match the beauty and durability of polyurethane. However, one downside of polyurethane is that it can sometimes develop bubbles during the application process.
These bubbles can mar the finish and affect the overall look of the piece. So what causes bubbling in polyurethane, and how can it be prevented? Here are five common causes:
1. Applying polyurethane over a dirty or dusty surface

Applying polyurethane to a dirty or dusty surface can cause the formation of bubbles on the surface. The bubbles can ruin the look of your project, and they can be difficult to remove once they’ve formed. Not only does this create an unsightly appearance, but it can also weaken the sealant and allow moisture to penetrate the surface.
To avoid this problem, be sure to clean your surface thoroughly before applying the polyurethane. You can use a vacuum cleaner with a soft brush attachment to remove dust and debris from the surface. Once you’ve vacuumed the surface, wipe it down with a damp cloth to remove any remaining dirt or dust.
Once the surface is clean, you can apply the polyurethane and be confident that you won’t have any unwanted bubbles.
2. Applying polyurethane in humid conditions
When it comes to applying polyurethane, timing is everything – and that goes double for humid conditions. If you try to apply polyurethane when the air is thick with moisture, you’re practically asking for trouble in the form of bubbles on the surface.
Why does this happen? It has to do with the way that polyurethane cures. You see, in order for it to cure properly, it needs exposure to oxygen. But when there’s too much moisture in the air, oxygen has a harder time reaching the surface of the polyurethane, causing it to form bubbles instead.
So what’s the solution? The best thing to do is to wait for a dry spell – or, if one isn’t forthcoming, take matters into your own hands by using a dehumidifier. By reducing the amount of moisture in the air, you’ll give the polyurethane a fighting chance to cure without any bubbling. And that’s good news for anyone who wants a smooth, professional-looking finish.
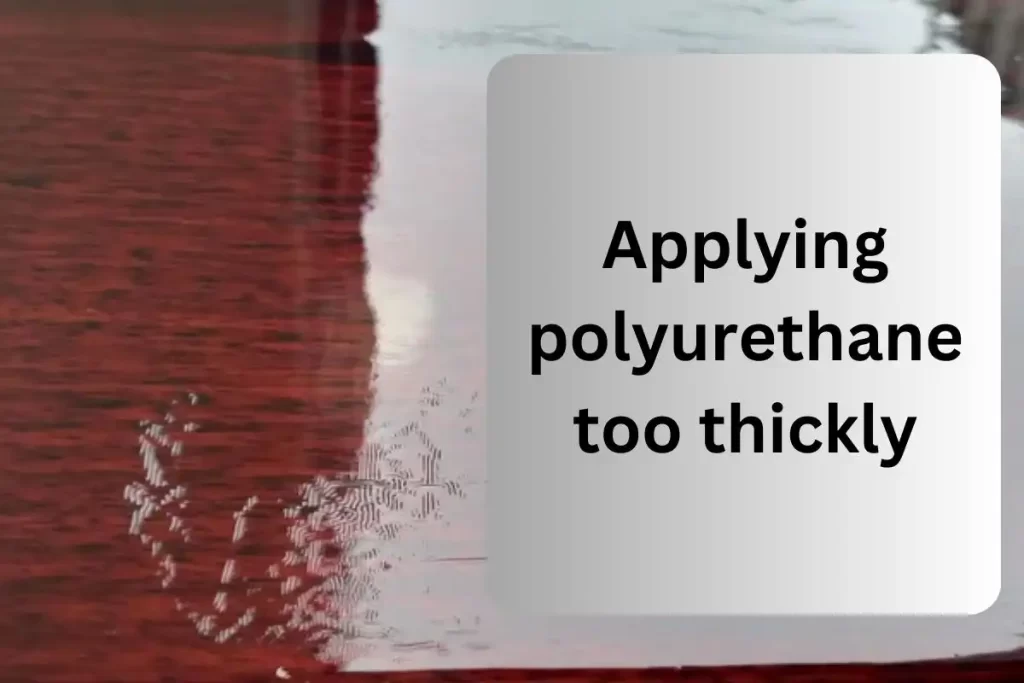
3. Applying polyurethane too thickly
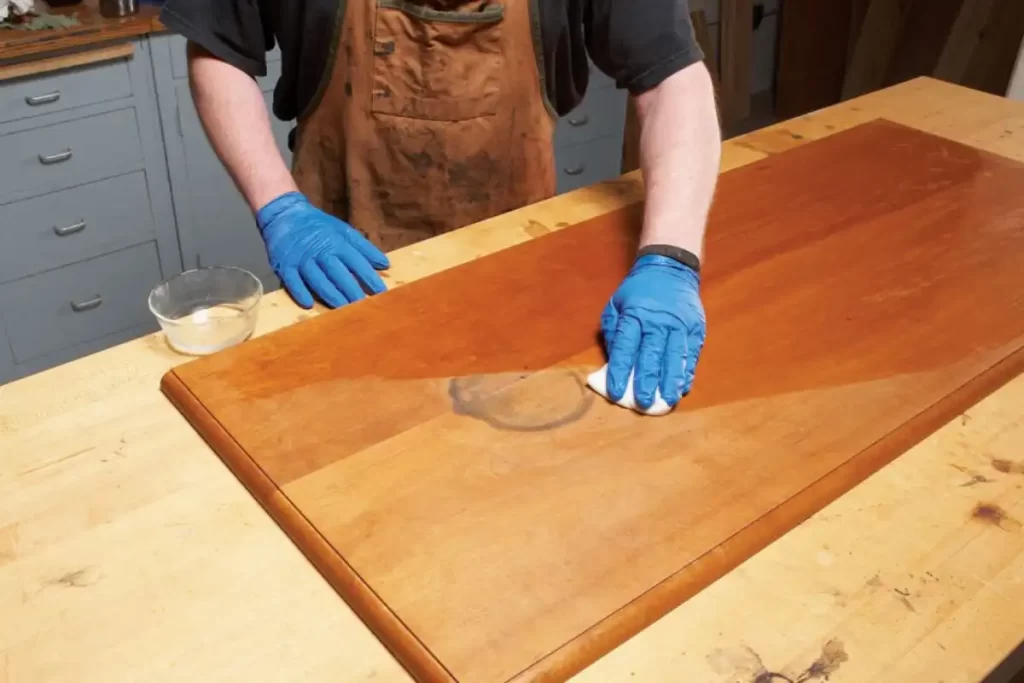
Applying polyurethane can be tricky – if you don’t do it right, you’ll end up with a sticky, bubbly mess. But done correctly, polyurethane can give your project a smooth, professional finish. So how do you avoid those pesky bubbles? The key is all in the application.
When applying polyurethane, make sure to work in thin, even coats. Thick coats are more likely to cause bubbles, so it’s best to avoid them altogether. Instead, focus on making sure each coat is as thin and even as possible. With a little practice, you’ll be a pro in no time!
4. Using a brush that is not of good quality
Bad brushes cause bubbles. Applying polyurethane with a bad brush will result in the formation of bubbles on the surface. This is not only unsightly, but it can also weaken the surface and affect the durability of the finish. When choosing a brush, always look for one that is well-made and designed for the application you are using it for.
In the case of applying polyurethane, a good brush will have synthetic bristles that are soft and durable. It should also be tapered so that it can reach into corners and tight spaces. With a good brush, you’ll be able to apply a smooth, even coat of polyurethane that will protect your surface and give it a beautiful finish.
5. Allowing Solvents to evaporate too quickly
When applying polyurethane, it’s important to work in a well-ventilated area. This is because the solvents in polyurethane can be harmful if inhaled. In addition, these solvents can evaporate quickly, which can cause bubbles to form on the surface.
To avoid this problem, be sure to work in a well-ventilated area and take breaks often. This will give the solvents time to dissipate so that they don’t cause any problems with your finish.
There are a few things that can cause bubbles to form in polyurethane. By taking the proper precautions, you can avoid these problems and create a smooth, professional finish.
How to remove bubbles from polyurethane finish without damaging the surface?
Anyone who has ever applied a polyurethane finish knows that bubbles are a common problem. Fortunately, there are a few simple ways to remove them without damaging the surface. Here are four effective methods:
1. Use a heat gun
Luckily, there is a way to remove bubbles from polyurethane without damaging the surface: by using a heat gun. The heat gun emits a stream of hot air that will cause the bubble to expand and then pop. At the same time, the surrounding polyurethane will remain unaffected, allowing you to achieve a smooth and flawless finish.
2. Use a needle or toothpick
Another effective way to remove bubbles is by using a needle or toothpick. Simply insert the needle into the center of the bubble and then gently pop it. The pressure from the needle will cause the bubble to expand and then burst. Again, this method will not damage the surrounding polyurethane, allowing you to achieve a perfect finish.
3. Use compressed air:
Compressed air is another great tool for removing bubbles from polyurethane. Simply point the nozzle of the compressed air at the center of the bubble and then release the trigger. The force of the air will cause the bubble to expand and then burst. This method is especially effective for larger bubbles.
4. Use a hairdryer
Have you ever tried to apply a polyurethane finish, only to have it ruined by pesky bubbles? If so, you know how frustrating and disappointing it can be. Fortunately, there is a way to fix this problem: by using a hairdryer. That’s right – a hairdryer can be your best friend when it comes to removing bubbles from a polyurethane finish.
Here’s how it works: start by heating up the hairdryer on the highest setting. Then, gently wave it over the surface of the polyurethane until the bubbles start to disappear. Be careful not to hold the hair dryer in one spot for too long, as this can cause the polyurethane to warp. With a little patience and practice, you’ll be able to remove bubbles from the polyurethane finish like a pro!
Can you use a torch to get bubbles out of polyurethane?
Have you ever tried to get bubbles out of polyurethane and failed? If so, you’re not alone. The traditional method of removing bubbles is notoriously difficult and often unsuccessful. But what if there were a better way? There is a simple solution. You can use a torch to get rid of them.
This is how it works: first, apply the polyurethane to your project as usual. Then, hold the torch about an inch away from the surface and move it slowly back and forth until the bubbles start to disappear. The heat from the torch will cause the bubbles to rise to the surface and pop. Just be careful not to overdo it, or you could end up damaging the wood.
If you’re having trouble with bubbles in your polyurethane, give this method a try. It’s quick, easy, and effective.
What are the consequences of not removing bubbles from polyurethane finish?
If you’ve ever tried to apply a polyurethane finish, you know that one of the most important steps is to remove any bubbles that have formed. If you don’t, they’ll be trapped under the finish, ruining the smooth surface. But what happens if you don’t take the time to remove the bubbles? Here are three potential consequences:
- The finish will be bumpy and uneven. One of the key benefits of using a polyurethane finish is that it creates a smooth, sleek surface. If there are bubbles trapped under the finish, that smooth surface will be ruined.
- The bubbles could pop and cause the finish to peel. Over time, those trapped bubbles will start to put pressure on the finish. Eventually, they could pop and cause the finish to peel off.
- Bubbles can trap dirt and dust. The surface will not only be bumpy and uneven, but it will also attract more dirt and grime. Bubbles can trap dirt and dust, making it harder to keep your home or office looking neat and tidy.
So next time you’re applying a polyurethane finish, make sure you take the time to remove any bubbles that have formed. It’s a simple step that can make all the difference in the finished product.
Frequently Asked Question
Q. How do you remove bubbles effectively from a polyurethane finish?
A. There are several ways to remove bubbles from a polyurethane finish. You can use a hairdryer, compressed air, or a torch. so the best method for you will depend on the size and number of bubbles. If you have a lot of small bubbles, using a hairdryer is probably your best bet. For larger bubbles, you may need to use compressed air or a torch.
Q. What are the budget-friendly ways to remove bubbles from polyurethane finish?
A. One of the budget-friendly ways to remove bubbles from polyurethane finish is by using a hairdryer. because it is already a household item, you don’t need to spend any extra money on buying a new tool.
Conclusion:
Bubbling in polyurethane finish is a common issue that can be caused by many factors. Fortunately, it’s usually easy to remove bubbles without damaging the surface. If you’re having trouble removing bubbles from your polyurethane finish, be sure to check out our blog for more tips and tricks. We’ll help you get your project back on track in no time!
6 thoughts on “How To Remove Bubbles From Polyurethane Finish?”
Comments are closed.