
You’re staring at an old, peeling deck, and all you can think is “UGH.” You know the hours it will take to strip off all that paint, and you just don’t have the time or patience. But before you write off your deck as a lost cause, consider this: stripping paint can be therapeutic.
It’s a chance to get outside, listen to some music, and watch as the pile of old paint chips grows larger. Not to mention, once you’re done, you’ll have a brand-new deck ready for summer barbecues. So go ahead and roll up your sleeves—stripping paint may not be fun, but it’s worth it.
We have some tips for you if you strip peeling paint from your deck and don’t know where to start! In this blog post, we’ll go over what you need to know about how to strip old paint from a deck.
How to Strip Old Paint off a Deck without Damaging the Wood? 7 Steps:
Most people don’t believe stripping paint from a deck is possible without damaging the wood. Even more, people think it’s a huge project that will take days to complete. But with the right tools and a little elbow grease, anyone can strip an old deck in no time.
There are a few things you need to know to do the job right. With just a little preparation, you can strip away the old paint without damaging the wood beneath.
Here’s how:
1. Assess the condition of your deck:
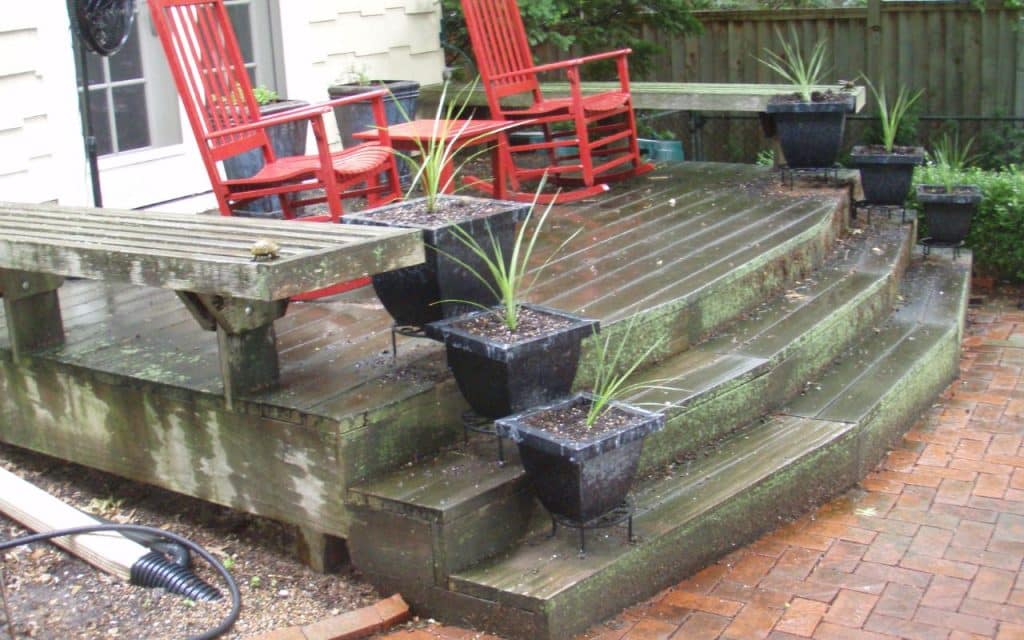
Don’t let your deck become an eyesore. A few simple steps in the assessment process can mean the difference between peeling paint and a beautiful repainted deck. By taking the time to evaluate the condition of your deck, but how?
Here’s what to look for:
- First, check for any brittle or flaking paint. This is a sure sign that it’s time to strip old paint and apply a new coat of paint. Be sure to scrape away the old paint before applying a new layer.
- Second, look for any cracks or splits in the wood. These need to be repaired before painting, as they will only worsen over time.
- Finally, check the ledger board – the board that attaches the deck to your house – to ensure it is securely fastened. If it isn’t, it could cause serious damage to your home if left unchecked.
By taking these simple steps, you can assess the condition of your deck and make sure it’s in good shape before you start stripping away the old paint.
2. Choose the Right Paint Stripper:
Paint strippers are not all created equal. Different formulas are better suited for different types of paint and surfaces. Choosing the wrong paint stripper can lead to a lengthy and frustrating stripping process or even damage to the surface beneath the paint.
Always choose the standard quality paint stripper for the job to avoid further damage. There are two main types of paint strippers.
Chemical stripper:
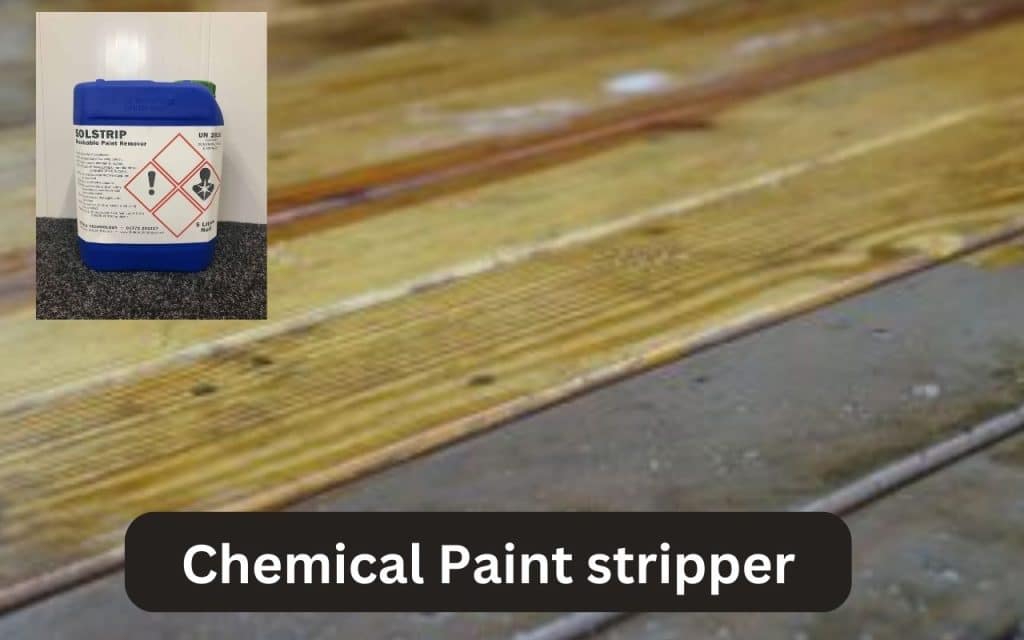
Chemical strippers are made with strong acids or bases that dissolve paint, varnish, and other finishes. Chemical strippers are better for removing multiple layers of paint. Chemical strippers are typically faster and more effective, but they can be harsh on the environment and difficult to clean up.
Mechanical stripper:
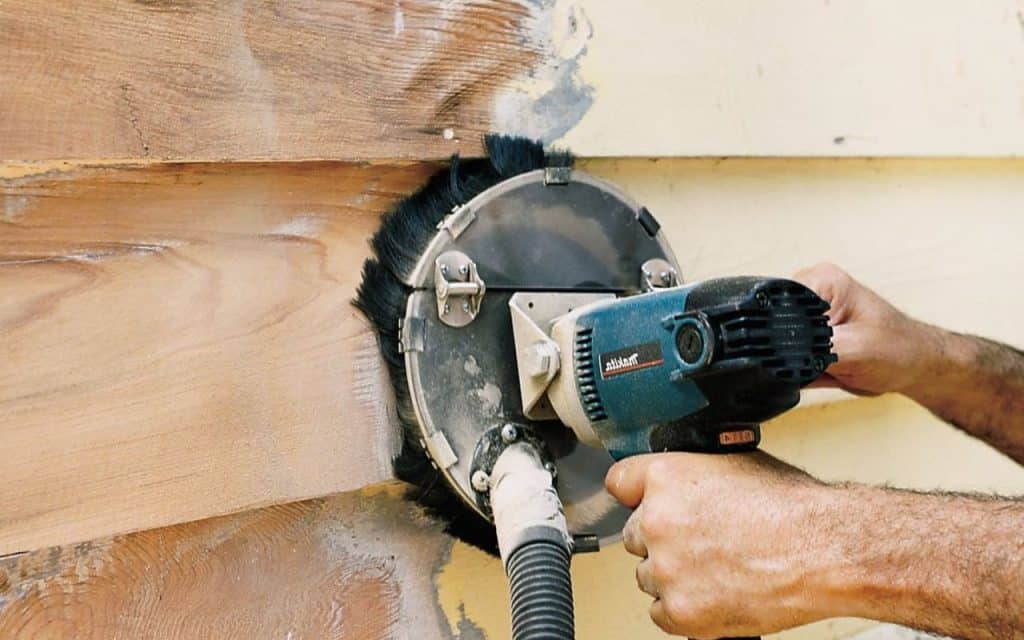
On the other hand, mechanical strippers use abrasion to strip off old paint. Mechanical strippers are better for stripping a single layer of paint. Mechanical strippers are slower and require more elbow grease, but they are gentle on the surroundings and easy to tidy up afterward.
Now that you know the difference between chemical and mechanical strippers, you can choose the right one for your project.
3. Protect your plants:
Most people know you should strip the paint off your deck before repainting it. However, many people don’t realize that this process can be dangerous for your plants. Paint strippers typically contain chemicals that can seep into the soil and harm your plants.
In addition, the stripping process can generate a lot of dust, damaging your plants. Therefore, it’s important to take some simple steps to protect your plants before you start stripping the paint from your deck.
Covering your plants with plastic sheeting or tarps can help ensure that they stay safe and healthy during the stripping process. In addition, it’s a good idea to wet down the area around your plants before you start stripping the paint.
4. Apply the stripper according to the manufacturer’s directions:
Applying the stripper according to the manufacturer’s directions is vital for ensuring you get the most out of your purchase. The stripper contains a chemical that will eat through the paint, so it is important to be very careful when using it.
Make sure to read the instructions thoroughly before beginning the stripping process. In addition, be sure to wear gloves and a mask to protect yourself from the fumes. Taking these precautions will help you to strip the paint quickly and safely.
5. Allow the stripper to work its magic:
Once you’ve applied the stripper, let it sit for the time specified on the product label. This will give it time to break down the bonds between the paint and the wood so that it can be easily removed.
So with this step, be patient and wait for the stripper to do its job. Depending on the type of paint and the condition of your deck, this could take anywhere from a few minutes to a few hours.
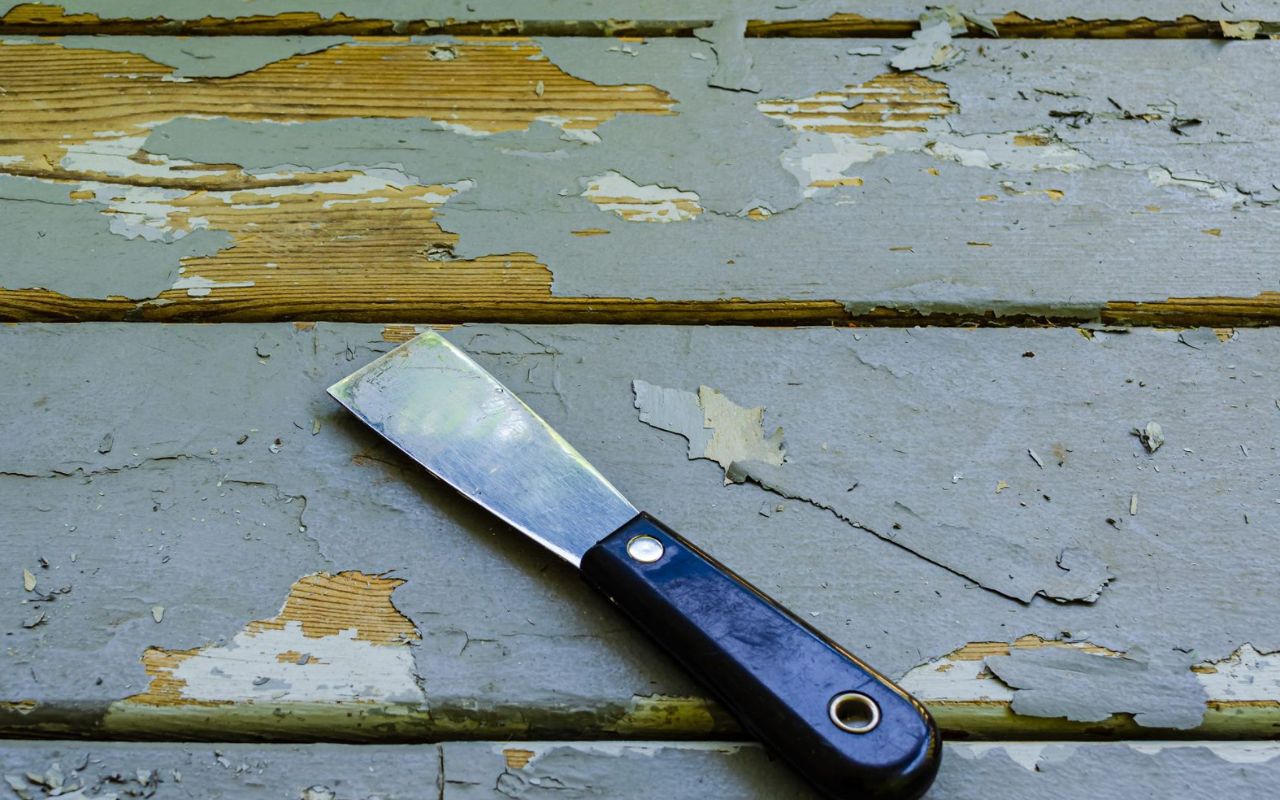
6. Scrape away the old paint:
Applying the stripper to the surface of your deck and allowing it to sit for the recommended amount of time will soften the old paint so it can be easily scraped away.
To remove the paint, you can use a putty knife, paint scraper, or wire brush. For areas that are difficult to reach, you may need to use a power washer on a low setting. But be careful not to damage the wood.
7. Wash away any residual stripper and paint particles:
Once you’ve removed all of the old paint, you’ll need to wash away any residual stripper and paint particles. The best way to do this is with a garden hose or pressure washer. The garden hose and pressure washer will greatly remove any leftover stripper or paint from your deck surface.
But a pressure washer is the most effective way to remove the stripper. Pressure washing your deck will also help to remove any loose paint chips or debris clinging to the surface. Once you’ve pressure washed your deck, rinse it thoroughly with clean water before allowing anyone on it.
How Much Does it Cost to Strip Paint From a Deck?
Whether you’re planning to sell your home or simply want to increase its curb appeal, stripping paint from your deck is a project that’s worth considering. Not only will it give your deck a fresh look, but it will also help to protect the wood from further damage. But how much does it cost to strip paint from a deck? The answer may surprise you.
On average, it costs between $50 and $100 to strip paint from a deck. However, the actual cost will depend on the size of the deck and the type of paint used. For example, if the paint is oil-based, it will be more difficult to remove than if it is water-based. Additionally, if the deck is large or has multiple levels, the project will likely be more expensive.
If you’re considering stripping paint from your deck, get several estimates before deciding on a contractor. With a little research, you can find a qualified professional who can get the job done quickly and efficiently. And while the upfront cost may be higher than you expected, the long-term benefits are worth it.
Is sanding Necessary after Stripping Old Paint from a Deck?
Spring is the perfect time to tackle that home improvement project you’ve been putting off all winter. And what could be more satisfying than stripping away the layers of old paint from your deck, revealing the beautiful wood grain beneath? But before you start slapping on a new coat of paint, you need to ask yourself one important question: is sanding necessary after stripping old paint from a deck?
On the one hand, sanding can help to smooth out any rough edges and unevenness left behind by the stripping process. This can give your deck a more polished and professional look. On the other hand, sanding can be a time-consuming and difficult task.
And if you’re not careful, you could damage the wood. So before you start your next home improvement project, make sure you take the time to sand the deck. It will save you time and hassle in the long run.
Frequently Asked Questions:
Q. How long does it take to strip paint from a deck?
A. The time it takes to strip paint from a deck will vary depending on the size of the deck and the type of paint used. For example, if the paint is oil-based, it will be more difficult to remove than if it is water-based. Additionally, the project will likely take longer f the deck is large or has multiple levels. In most cases, it takes between two and four hours to strip paint from a deck.
Q. Can I strip paint from my deck myself?
A. Stripping paint from a deck is a fairly easy do-it-yourself project. However, it is important to note that the process can be time-consuming and labor-intensive.
If you’re considering stripping paint from your deck, get several estimates before deciding on a contractor. With a little research, you can find a qualified professional who can get the job done quickly and efficiently.
Q. How can I prevent my deck from being damaged during the stripping process?
A. The best way to prevent damage to your deck is to hire a professional contractor with experience stripping paint from decks. Additionally, be sure to sand the deck before you start the stripping process. This will help to smooth out any rough edges and unevenness left behind by the stripping process.
Q. Does vinegar remove paint from wood?
A. Vinegar is a natural, effective way to remove paint from wood surfaces. To use vinegar to remove paint, simply soak a rag in vinegar and then rub the paint off the wood. Simply apply vinegar to the area with a cloth or brush, and let it sit for a few minutes. Then, use a putty knife or other scraper to remove the paint. For stubborn areas, you may need to repeat the process.
Conclusion
Stripping old paint from a deck can be a daunting task, but it doesn’t have to be. With the right tools and knowledge, you can do it yourself and avoid damaging the wood in the process. We’ve outlined seven steps to help make the stripping process as easy as possible, plus we’ve included some tips on how to save money while doing it. Be sure to visit our blog regularly for more helpful DIY tips!
6 thoughts on “Deck Stripper: How To Strip Paint From A Deck?”