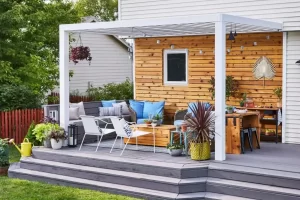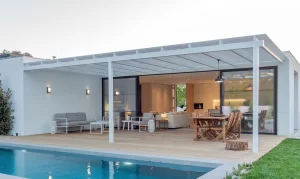

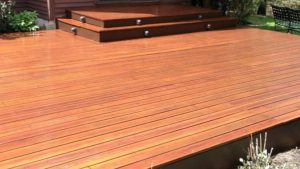
Most people would love to have a brand-new deck. However, decks can be very expensive, and many people don’t have the budget to replace their old ones. If your deck is starting to look a bit worn out, there are some simple things you can do to give it a new lease on life.
With a little elbow grease and a few inexpensive materials, you can easily make your old deck look new again. In this article, we’ll show you how to do just that. We’ll also offer some tips on how to keep your deck looking its best in the future.
So, if you’re ready to give your old deck a makeover, read on!
10 deck restoration tips to make your old deck look new again
Spring is the perfect time to freshen up your outdoor living space, and if you have a deck, that means it’s time for some deck restoration.
Whether your deck just needs a little TLC or it’s in serious need of repair, there are a few simple tips that can help you make your old deck look new again. With a little elbow grease and the right materials, you can have a deck that looks like it did the day it was built.
Here are 10 deck restoration tips to get you started:
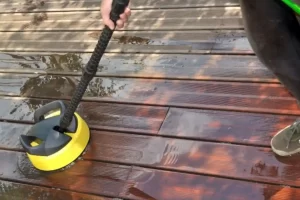
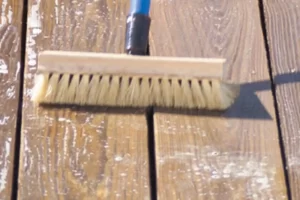
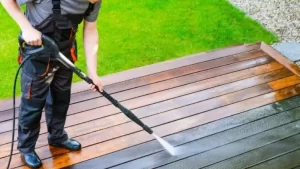
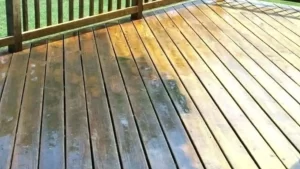
1. Clean your deck
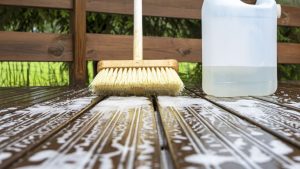
Tools for cleaning
- Garden hose
- pressure washer (optional)
- screwdriver
- wire brush
Instruction
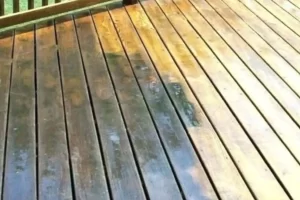
If your deck is looking a little worse for wear, the first step is to give it a good cleaning. You can do this with a garden hose and some elbow grease or, for tougher jobs, a pressure washer.
Start by hosing down your deck to remove any loose dirt and debris. If you’re using a pressure washer, be sure to hold it at least 12 inches from the surface of your deck and use a low-pressure setting.
Once you’ve removed all the loose dirt, it’s time to scrub your deck with a wire brush. This will help loosen any stuck-on dirt and grime.
Finally, rinse your deck with clean water to remove any soap residue.
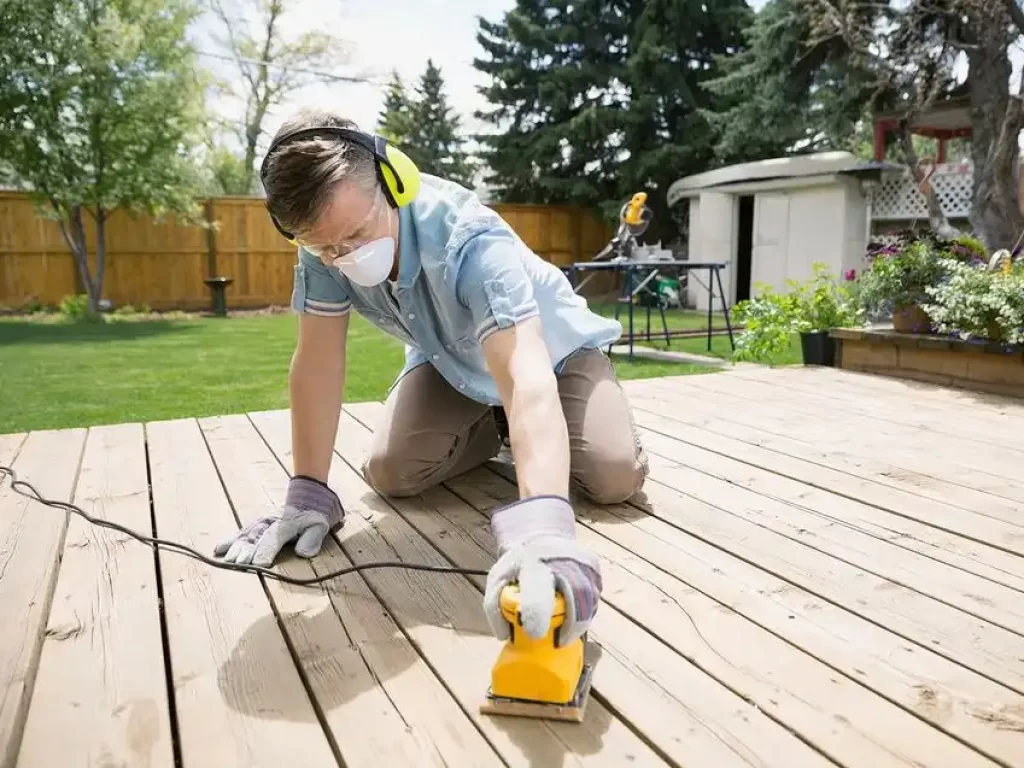
2. Sand your deck
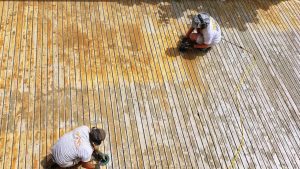
Tools for sanding
- Sandpaper
- sanding block
- power sander
Instruction
After you have given your deck a good cleaning, the next step is to sand it. This will help to smooth out any rough spots and Prepare the surface for staining or painting.
To sand your deck, you will need some coarse-grit sandpaper and a sanding block or power sander. If you are using a sanding block, be sure to wrap the sandpaper around it tightly to avoid leaving any sanding marks on your deck.
Start by standing in the direction of the grain to avoid damaging the wood. Once you have sanded the entire surface of your deck, vacuum up any sanding dust and wipe down the area with a damp cloth.
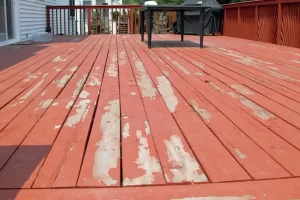
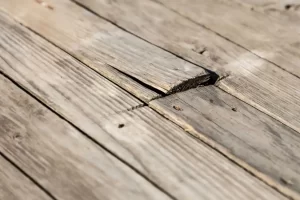
3. Repair any damage to the old deck

Tools required for repairing
- Drill
- screwdriver
- saw (optional)
- wood putty or filler
- paintbrush
- beach (optional)
- hammer (optional)
Instructions
Once you have cleaned and sanded your deck, it’s time to repair any damage that may be present. This may include replacing any cracked or missing boards, filling in any holes or cracks, and repairing any damaged railings.
To replace a cracked or missing board, start by removing the old board with a drill and screwdriver. Once the old board is removed, measure and cut a new one to fit its place. Secure the new board in place with screws and/or nails.
If there are any holes or cracks in your deck, fill them in with wood putty or filler. Once the filler is dry, sand it down until it is flush with the rest of the deck.
To repair damaged railings, start by removing any damaged boards with a saw. Once the damaged boards are removed, measure and cut new ones to fit their place. Secure the new boards in place with screws and/or nails.
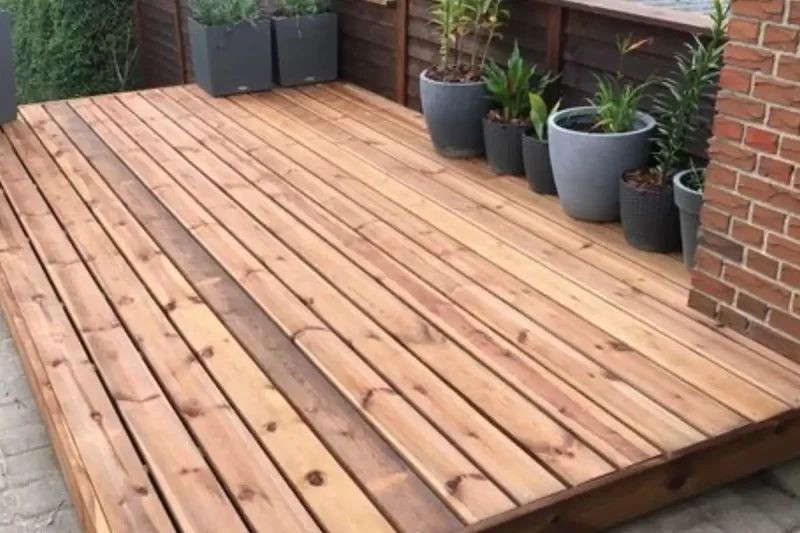
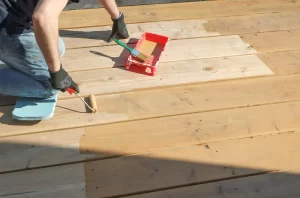
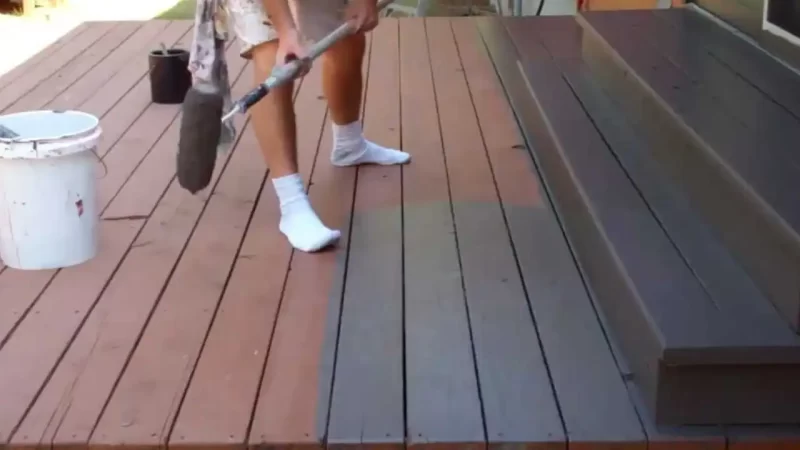
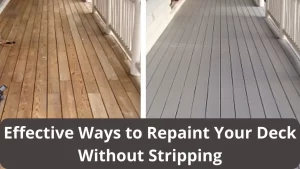
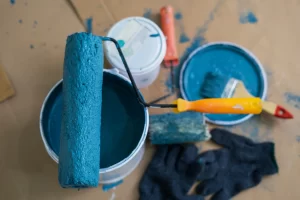
4. Paint or stain your deck
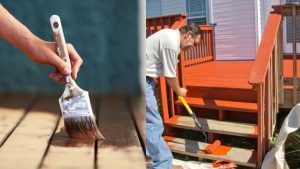
Tools for painting or staining
- paintbrush
- paint roller
- paint tray
- stain
- clean cloths
Instructions
Once you have repaired any damage and sanded your deck, it’s time to paint or stain it. If you are painting your deck, start by applying a primer to the entire surface. Once the primer is dry, paint the entire deck with a paintbrush or paint roller.
If you are staining your deck, start by applying a pre-stain conditioner to the entire surface. This will help the stain to evenly absorb into the wood. Once the conditioner is dry, apply the stain of your choice with a brush or roller.
Once the paint or stain is dry, remove any excess with a clean cloth.
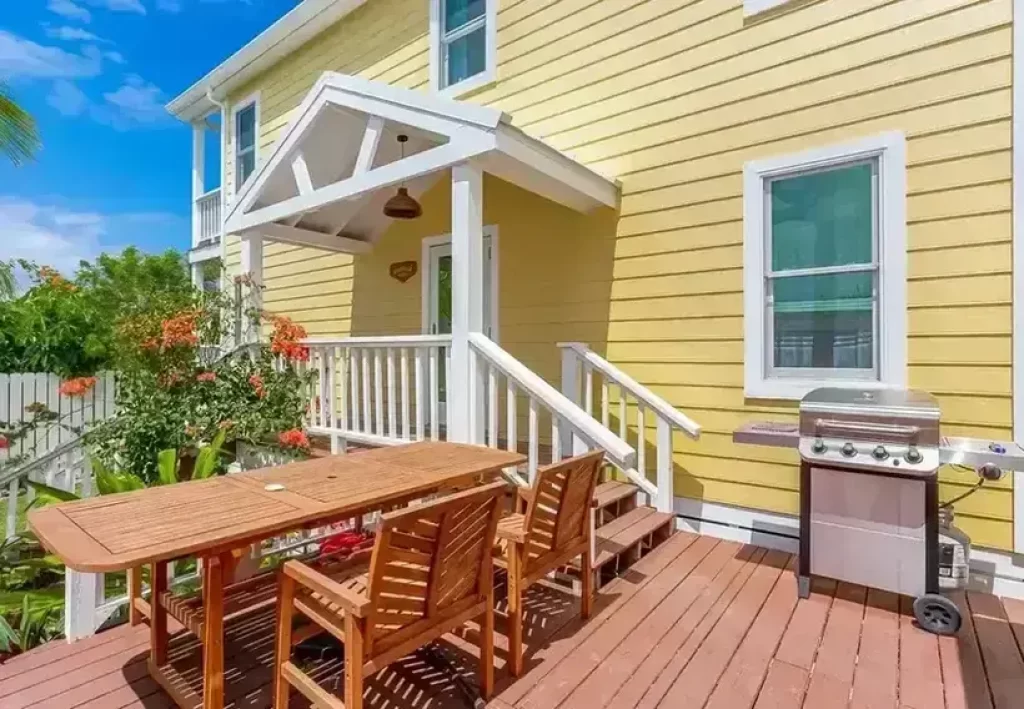
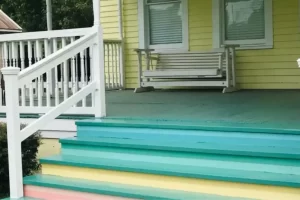
5. Add some color
 If you want to add some extra pizzazz to your deck, consider adding some color with paint or stain. You can use a single color or create a fun and unique design. Just be sure to choose colors that complement each other and that will look good with your home’s exterior.
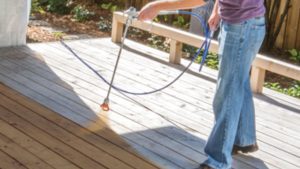
6. Add a sealer
Tools for adding a sealer
- paintbrush
- roller
- tray
- clean cloths
Instructions
After you have painted or stained your deck, it’s a good idea to add a sealer. This will help protect your deck from the elements and extend its life.
To add a sealer, start by applying a primer to the entire surface. Once the primer is dry, apply the sealer of your choice with a brush or roller
Once the sealer is dry, remove any excess with a clean cloth. You may also want to add a second coat of sealer for extra protection.
After you have added a sealer, your deck will be protected from the elements and ready to enjoy!
7. Add some lighting
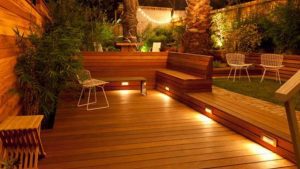
Adding some lighting to your deck can give it a whole new look and feel. You can choose from solar lights, LED lights, or traditional light bulbs. Just be sure to place the lights in strategic locations so that they illuminate your deck properly.
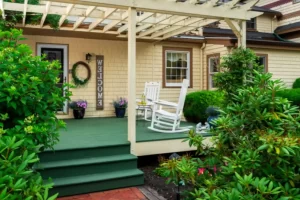
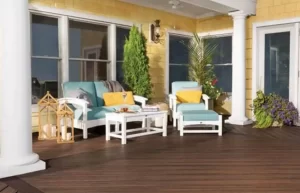
8. Add some greenery
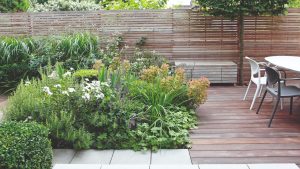
Adding some plants and flowers to your deck can give it a fresh and inviting look. You can choose from a variety of plants, including annuals, perennials, and shrubs. Just be sure to select varieties that are appropriate for your climate and that will thrive in your particular deck environment.
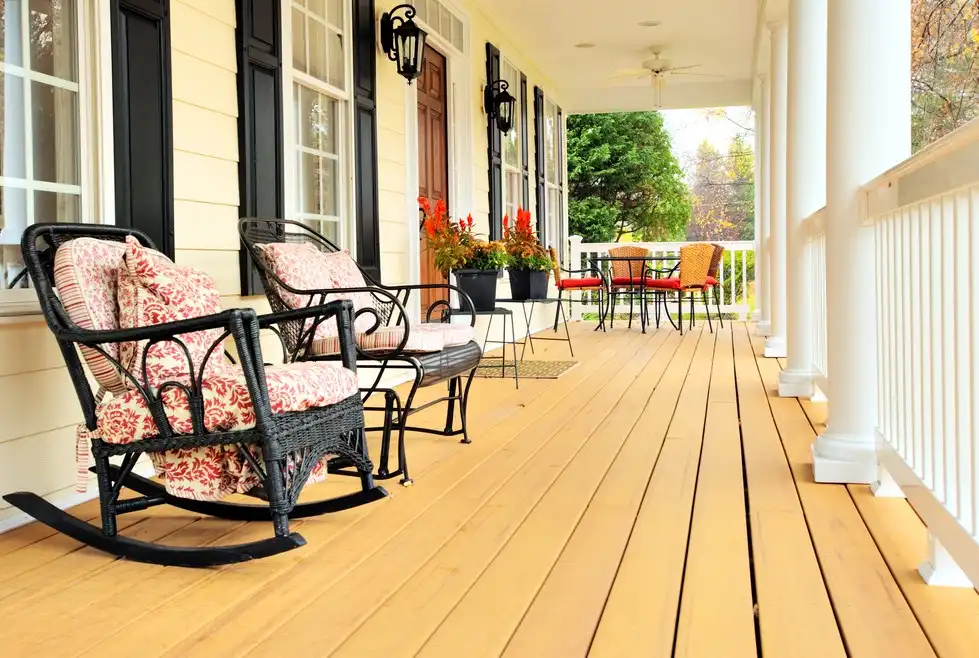
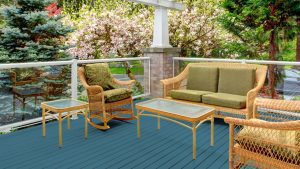
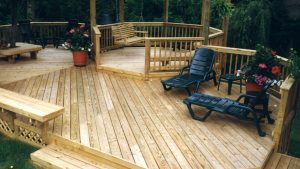
9. Accessorize your deck

Adding some accessories to your deck can give it a unique and personal touch. You can hang wind chimes, birdhouses, or planters from the railing. Or, you can add a bench or table so that you have somewhere to sit and enjoy the outdoors.
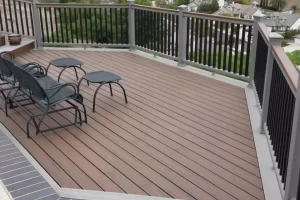
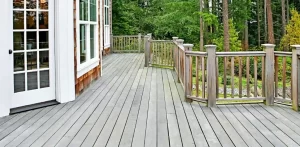
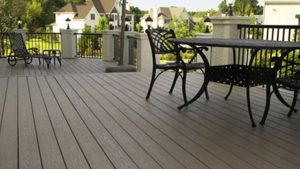
10. Enjoy your new deck!
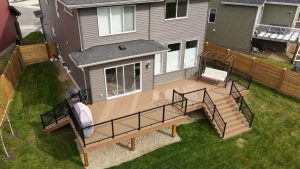
Once you’ve followed all of these tips, you’ll have a brand-new-looking deck that you can enjoy for years to come. Just be sure to take care of it by cleaning it regularly and making repairs as needed. With a little bit of effort, your deck will remain to look its best for years to come.
Frequently asked question
How do you restore a weathered deck?
There are a few different ways that you can restore a weathered deck. If the deck is made of wood, you can sand it down and refinish it. If the deck is made of composite material, you can power wash it and then apply a new coat of stain or paint.
Is it better to paint or stain an old deck?
It depends. If the deck is made of wood, you can either paint or stain it. If the deck is made of composite material, it is best to power wash it and then apply a new coat of stain or paint.
Conclusion:
Deck restoration can be a daunting task, but it doesn’t have to be. These ten tips should help you get your deck looking new in no time! If you want more information or are looking for some inspiration, be sure to visit our blog regularly where we post helpful articles on home improvement and gardening. Have fun with your deck renovation project – Happy restoring!


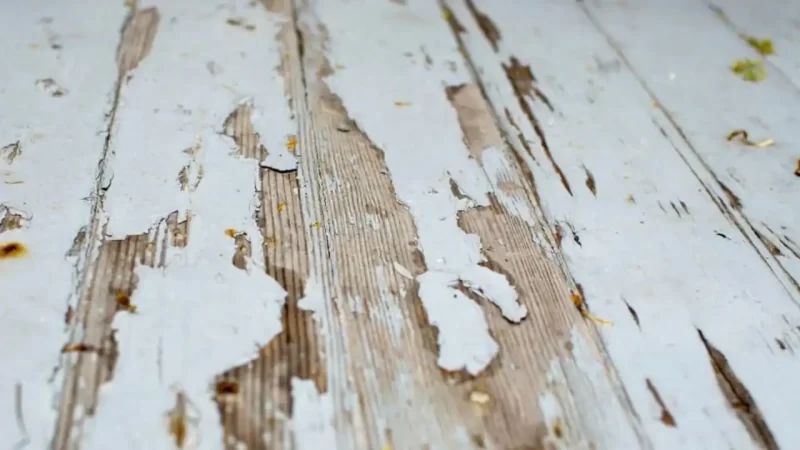
 Once you’ve removed the majority of the paint, it’s time to scrub the deck with a stiff-bristled brush and deck cleaner. This will loosen any remaining paint and dirt on the thick
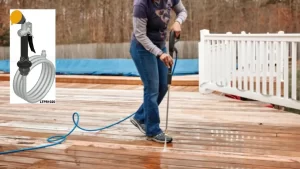


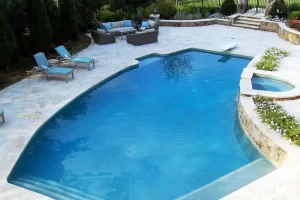
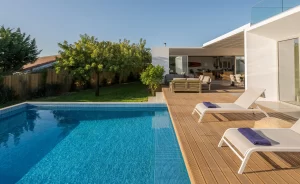
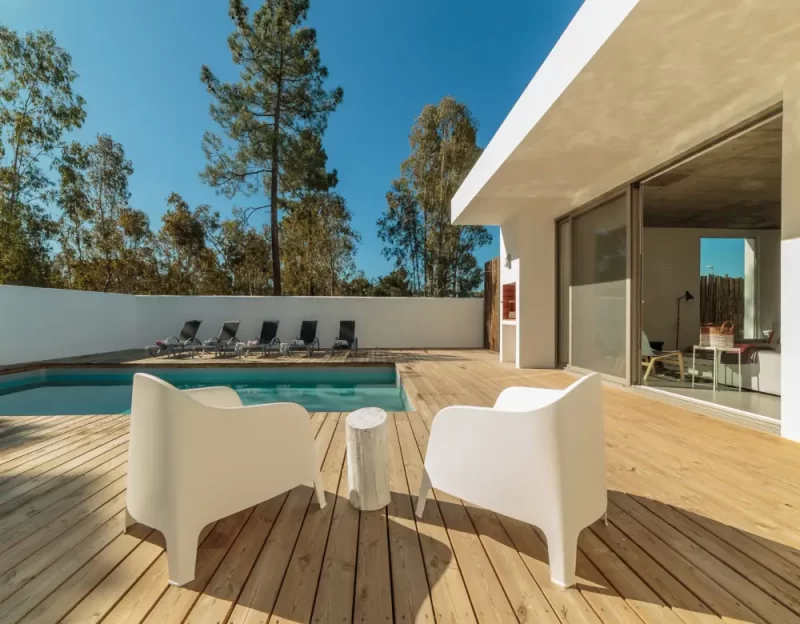
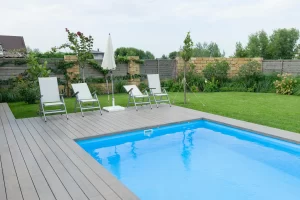
 Ready to take the plunge and spruce up your pool this season? After that, you’ll need to pick the right deck paint color to create an inviting atmosphere that will jump out. And we think we know just the hue: bright red.
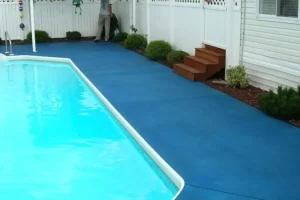
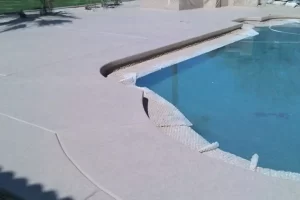 While most homeowners shy away from using gray in their outdoor spaces, Cool Gray is the perfect color for deck paint in your pool. The light color helps to reflect heat, keeping the area cooler on hot days.
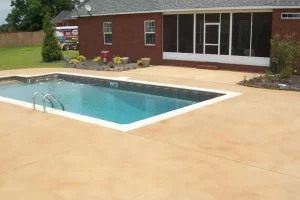 Warm Tan is the ideal color for deck paint for those who wish to enhance the elegance of their pool. This rich, earthy shade instantly adds sophistication and class to any pool area.
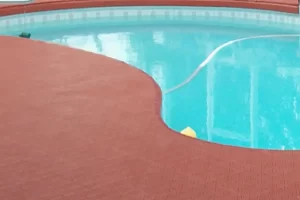
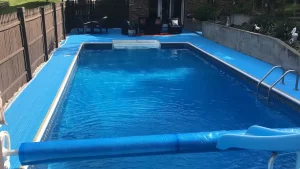 Forget about conventional pool
  Emerald green is the ideal color for your pool deck because it is both stylish and eye-catching.
 When it comes to deck paint, there are a lot of options out there. If you want to make a serious impact, Sunshine Yellow is the color to use.
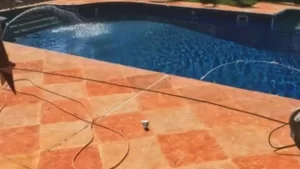 Is your pool looking a little lackluster? Ready for a change? Consider painting it Pumpkin Orange! This rich, vibrant hue will transform your outdoor space into a true oasis.
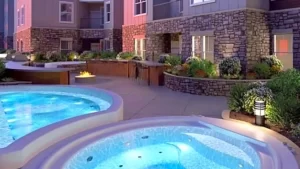 There’s something about a pool that just screams summertime fun. Whether you’re diving in for a refreshing swim or relaxing on a float, a pool is a perfect place to beat the heat.