
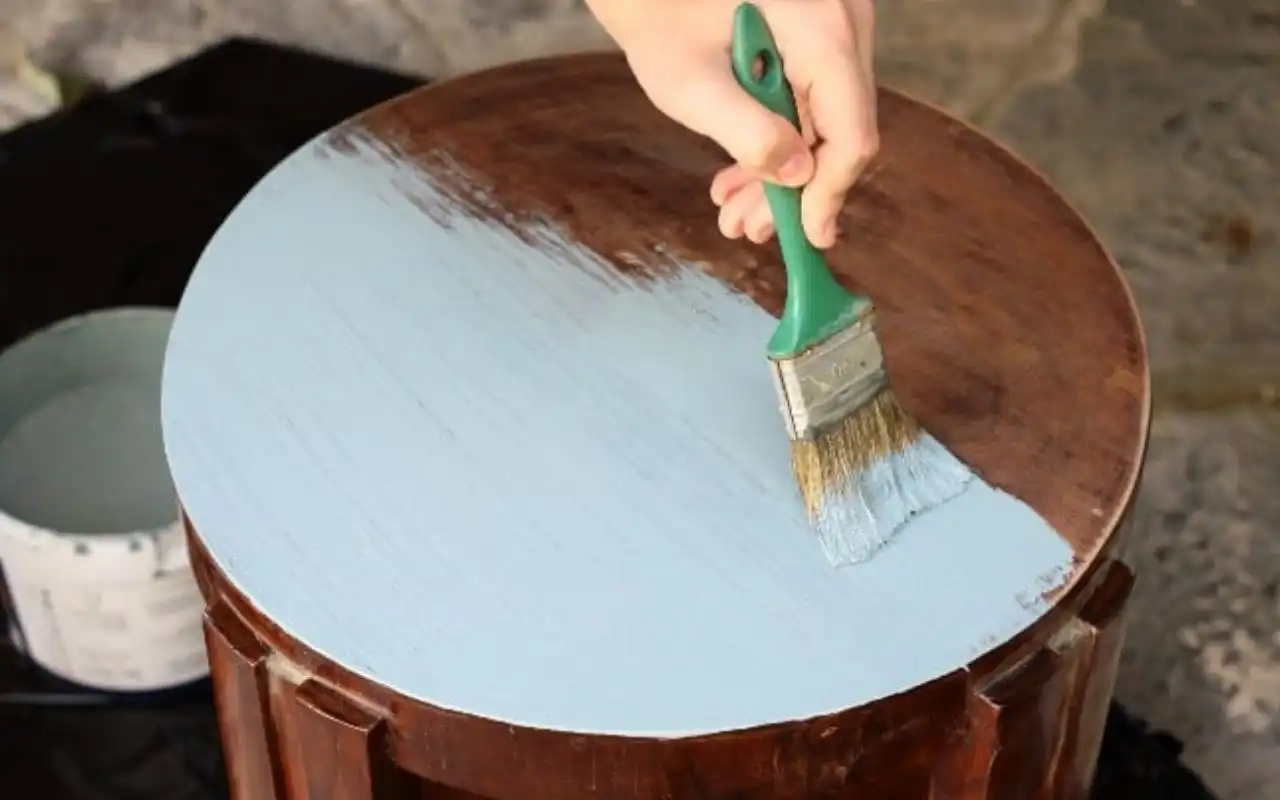
Acrylic paint is known for its versatility, as it can be used on a variety of surfaces. Wood is a popular choice for those who want to create a unique piece of art, but the question remains – how long does acrylic paint take to dry on wood?
The answer may surprise you! Acrylic paint can actually dry quite quickly on wood, often within minutes or even seconds. However, this doesn’t mean that the paint is completely cured and ready for heavy use. In fact, depending on the brand and type of paint you’re using, it can take anywhere from 15 to 30 minutes to an hour for the paint to dry completely.
If you’re in a hurry, there are a few things you can do to speed up the process. In this blog post we’ll give you some tips on how to make your acrylic paint dry faster on wood. so you can get back to your project in no time!
How Do You Know Whether Your Acrylic Paint on Wood is Dry?
You’ve just completed a beautiful painting on a wooden surface using acrylic paint, and now you’re eager to show it off. But before you do, you need to make sure that the paint is completely dry. Acrylic paint dries quickly, but it can take longer to cure completely. Here are a few simple tips to help you tell if your paint is dry:
Taking a close look at the surface of your painting will usually give you a good indication of whether the paint is dry. If the paint looks flat and dull, it’s probably dry to the touch. However, if it still looks shiny or wet, it’s likely that it’s not yet ready to be handled.
Another way to tell if your paint is dry is to lightly press your finger against the surface. If the paint feels tacky or sticky, it’s not yet dry. However, if your finger leaves no impression on the paint and it feels completely smooth, then it’s most likely ready to be enjoyed.
How Can You Speed Up the Drying Process for Your Acrylic Paint on Wood?
One of the benefits of using acrylic paint is that it dries relatively quickly. This can be helpful when you are working on a project with a tight timeline. However, there are times when you might want it to dry even faster. Here are seven tips for speeding up the drying process for your acrylic paint on wood:
1. Use a hairdryer:
If you’re looking for a way to speed up the drying process for your acrylic paint on wood, using a hairdryer is an effective option.
Here’s how it works: the hair dryer blowing air over the wet paint will help to evaporate the water, allowing the paint to dry faster. Additionally, the heat from the hairdryer will help to set the paint, making it less likely to smudge or run. So if you’re in a hurry to get your project finished, using a hairdryer is a great way to speed up the drying process.
2. Set up a fan:
if you don’t have a hairdryer and want another simple and effective way to dry your acrylic paint on wood.
Luckily, there is a simple solution: setting up a fan.
Fans work by circulating the air around the painting, which helps to evaporate the moisture in the paint. As a result, your paint will dry much faster than it would without a fan. And best of all, this method is perfectly safe for both your paint and your wood surface. So next time you’re looking for a way to speed up the drying process, be sure to give this technique a try.
3. Use a heating lamp:
When it comes to painting with acrylics, one of the most frustrating things can be the drying process. It can seem like no matter how long you wait, the paint just won’t dry. Fortunately, there is a way to speed up the process by using a heating lamp.
By pointing the lamp at the wet paint, the heat will help to evaporate the water and allow the paint to dry more quickly. The best part is that this method is perfectly safe and will not damage the wood. Additionally, the heat from the lamp will help to set the paint, making it less likely to smudge or run.
If you’re looking for a way to speed up the drying time for your acrylic paint, be sure to try using a heating lamp.
4. Turn up the heat:
Cranking up the thermostat can also help to speed up the drying process for your acrylic paint on wood. The increased temperature will help to evaporate any moisture from the paint, helping it to dry more quickly. Just be careful not to get the temperature too high, as this could cause damage to your painting.
5. Open up a window:
In addition to turning up the heat, opening up a window can also help improve air circulation and speed up the drying process for your acrylic paint on wood. The fresh air will help evaporate any moisture from the paint, helping it to dry more quickly.When painting with acrylics, be sure to open up a window to help improve air circulation and speed up the drying process.
6. Use a humidifier:
A humidifier is a great way to speed up the drying process for your acrylic paint on wood. The humidifier will add moisture to the air, which will help evaporate any water from the paint. As a result, your paint will dry more quickly. So if you’re looking for a way to speed up the drying process, be sure to give this method a try.
7. Use a spray bottle:
If you want an easy and effective way to dry your acrylic paint on wood, using a spray bottle is a great option.
Here’s how it works: The spray bottle will aid in the speedy drying of the paint by removing any moisture from it. Furthermore, the spraying method will protect your wood, making it much less likely to become ruined. If you want to accelerate the drying process, try this approach.
How to Choose the Right Acrylic Paint for Your Project?
When it comes to choosing the right acrylic paint for your woodworking project, there are a few things you need to take into account. The type of wood you’re working with, the look you’re going for and the durability you need are all important factors. But with so many different types of acrylic paint on the market, how do you know which one is right for you?
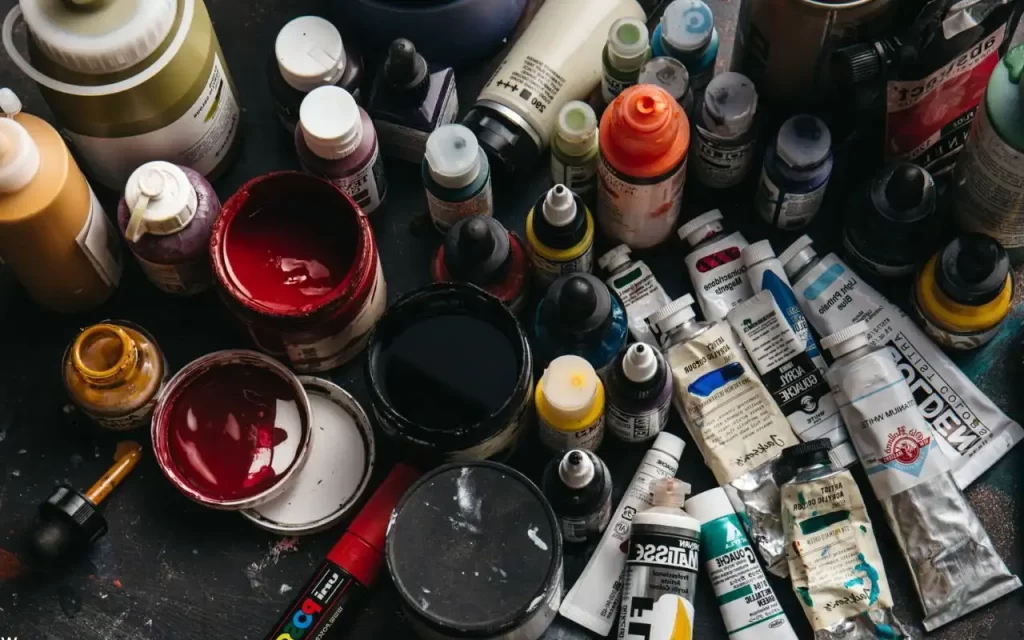
Here’s a quick guide to help you choose the best acrylic paint for your next woodworking project:
- If you’re looking for a natural look, go for acrylic paint that is close to the color of the wood. This will give your project a more subtle look.
- For a more durable finish, choose an acrylic paint that is designed specifically for wood. This will help protect your project from wear and tear.
- If you want a high-gloss finish, go for acrylic enamel paint. This type of paint will give your project a shiny finish that is sure to impress.
So there you have it – a quick guide to choosing the right acrylic paint for your next woodworking project. With so many different types of paint on the market, it can be tough to know which one is right for you. But by taking into account the type of wood you’re working with, the look you’re going for and the durability you need, you can narrow down your options and find the perfect paint for your project.
How to Choose the Best Brush for Acrylic Paint?
When it comes to selecting the finest brush for acrylic paint, there are a few factors to consider.
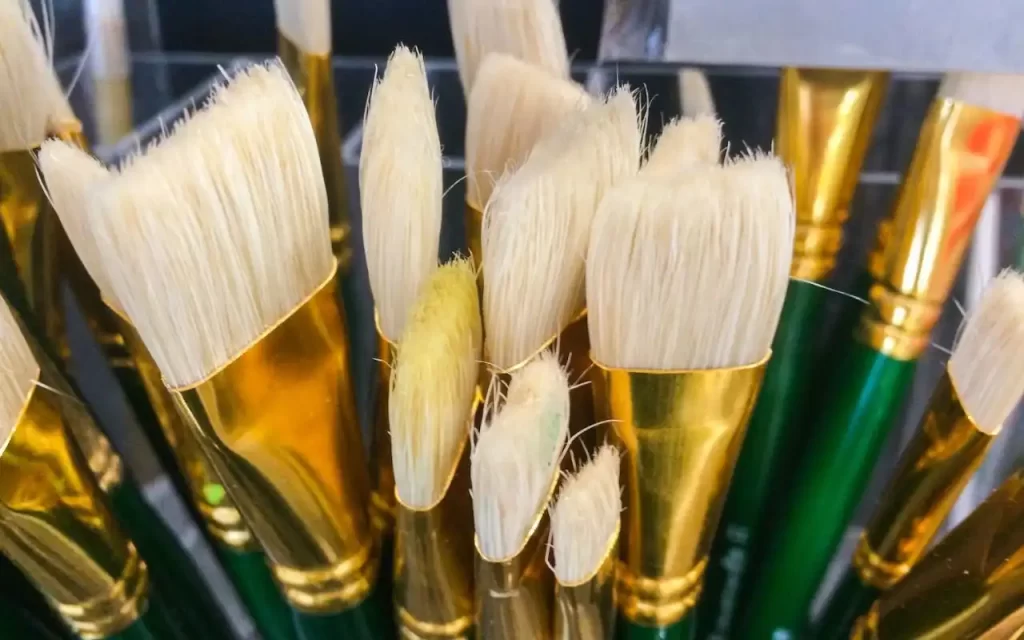
First of all, what kind of finish do you want? If you’re going for a smooth, even finish, then you’ll need to choose a synthetic brush with synthetic bristles. However, if you’re looking for a more textured finish, then a natural bristle brush might be the way to go.
Secondly, what size do you need? Acrylic paint can be quite thick, so you’ll need a fairly large brush if you want to avoid any streaks or lines. Finally, how much control do you need? If you’re new to painting with acrylics, then it might be worth opting for a shorter brush that’s easier to control. With these factors in mind, you should be able to find the perfect brush for your needs.
What are the Factors That Make Acrylic Paint Dry Slowly on Wood?
When it comes to painting, slower is often not better. If your paint dries slowly on wood, it can be frustrating and cause your project to take longer than necessary. Fortunately, there are a few ways to tell if your paint is drying slowly so you can make adjustments accordingly.
Here are eight tips:
- Check the temperature of the room you’re painting in. If it’s too cold, the paint will take longer to dry.
- Check the humidity levels as well. High humidity can also prevent paint from drying properly.
- Make sure you’re using a good quality paintbrush. Lower-quality brushes can hold onto moisture and prevent the paint from drying correctly.
- Inspect the wood itself for any irregularities that might be causing the paint to dry slowly.
- Try a different type of paint altogether. Some paints are simply designed to dry more slowly than others.
- Finally, remember that some woods simply absorb Paint slower than others – so if you’re having trouble regardless of what you try, it might just be the type of wood you’re working with!
Hopefully, these tips will help you get your project done in a timely manner!
Frequently Asked Question
Q. Can I thin out acrylic paint with water?
Yes, you can thin out acrylic paint with a little bit of water. This will help it to dry more quickly. but be careful not to add too much water, as this can affect the quality of the paint.
Q. What type of paint dries the quickest?
Some types of paint are designed to dry more quickly than others. If you’re looking for a quick-drying option, consult your local hardware store or art supply shop.
Q.Why does acrylic paint stay tacky?
There are a few reasons why acrylic paint might stay tacky. It could be due to the temperature, humidity levels, or type of paint you’re using. Be sure to check all of these factors before beginning your project.
Conclusion
Acrylic paint is versatile and comes in a variety of finishes, making it the perfect medium for any project. Whether you are a beginner or an experienced painter, there are a few tips you should know before beginning your next acrylic painting on a wood project.
By following these simple guidelines, you can ensure that your paint dries properly and results in a beautiful finished product. Be sure to visit our blog regularly for more helpful tips and tricks on all things DIY!
5 thoughts on “How Long Does Acrylic Paint to Dry on Wood?”