
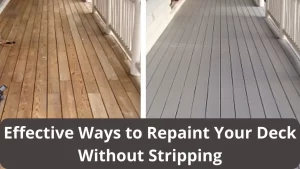
Before you write this off as another of those never-ending home improvement projects, know that paint can be your best friend on an old deck. A fresh coat of paint can give new life to an old and weathered deck without costing you a fortune or taking up all your free time.
Plus, with some planning and the right supplies, you can avoid making a big mess. So if you’re ready to give your deck a makeover, read on for tips on painting an old deck without making a mess.
With a little bit of effort, you’ll have that old deck looking like new in no time.
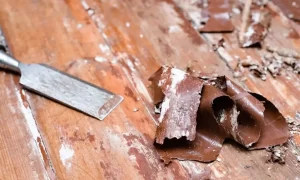
Why is it Necessary to Scrape off the Previous Paint from the Deck?

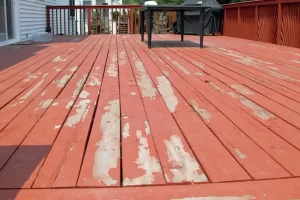
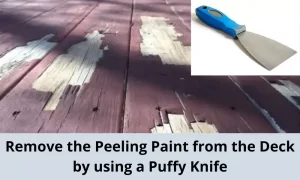
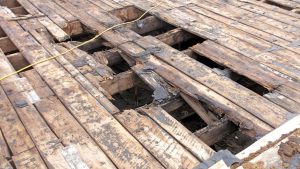
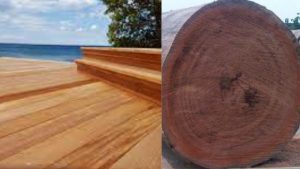
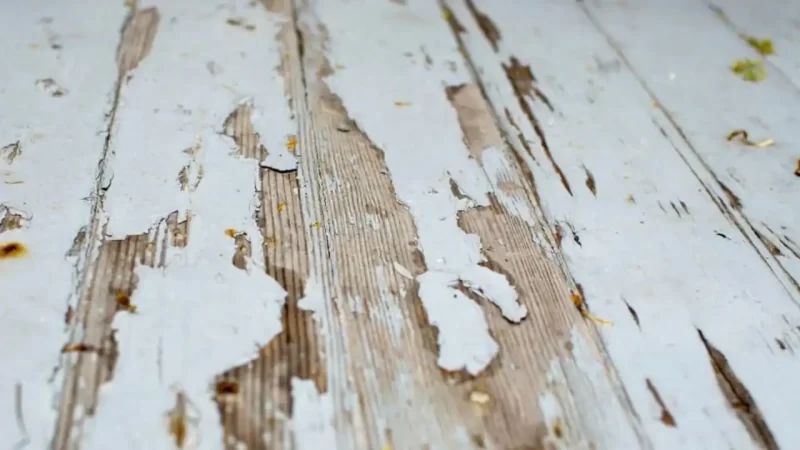
A freshly painted deck is the perfect place to enjoy a summer BBQ with friends, but before you can enjoy your new deck, you have to scrape off the old paint. It might seem like a hassle, but scraping off the old paint is essential for a smooth, even finish.
Here’s why:
- New paint adheres best to a clean surface.
- Old paint can chip and flake, ruining your new paint job.
- Scraping off the old paint allows you to inspect your deck for any repairs that need to be made before you start painting.
So save yourself time and money by taking the time to scrape off the old paint before you apply new paint to your deck.
How to Paint an Old Deck in 7 Easy Steps?
Ready to get rid of that old, peeling deck? Just follow these seven easy steps, and you’ll have a fresh, new deck in no time – without calling in a professional (and spending a fortune).
So break out the paintbrushes, and let’s get started!
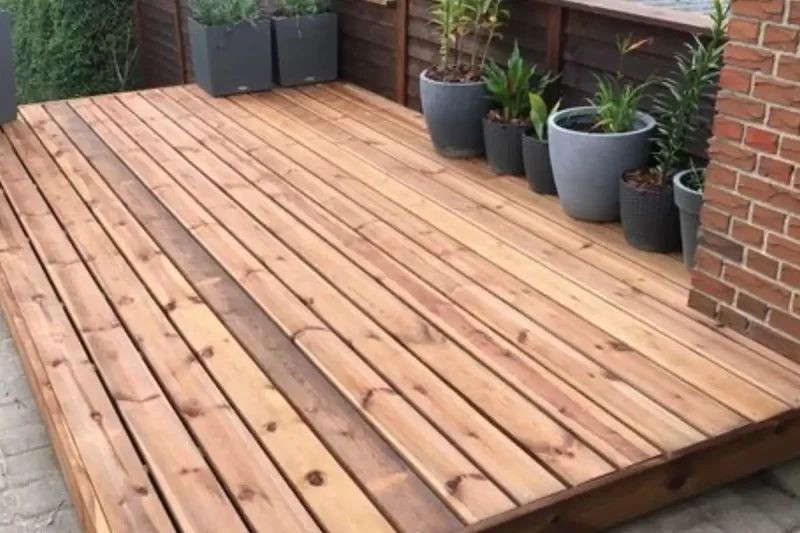
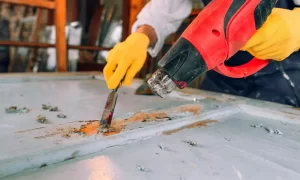
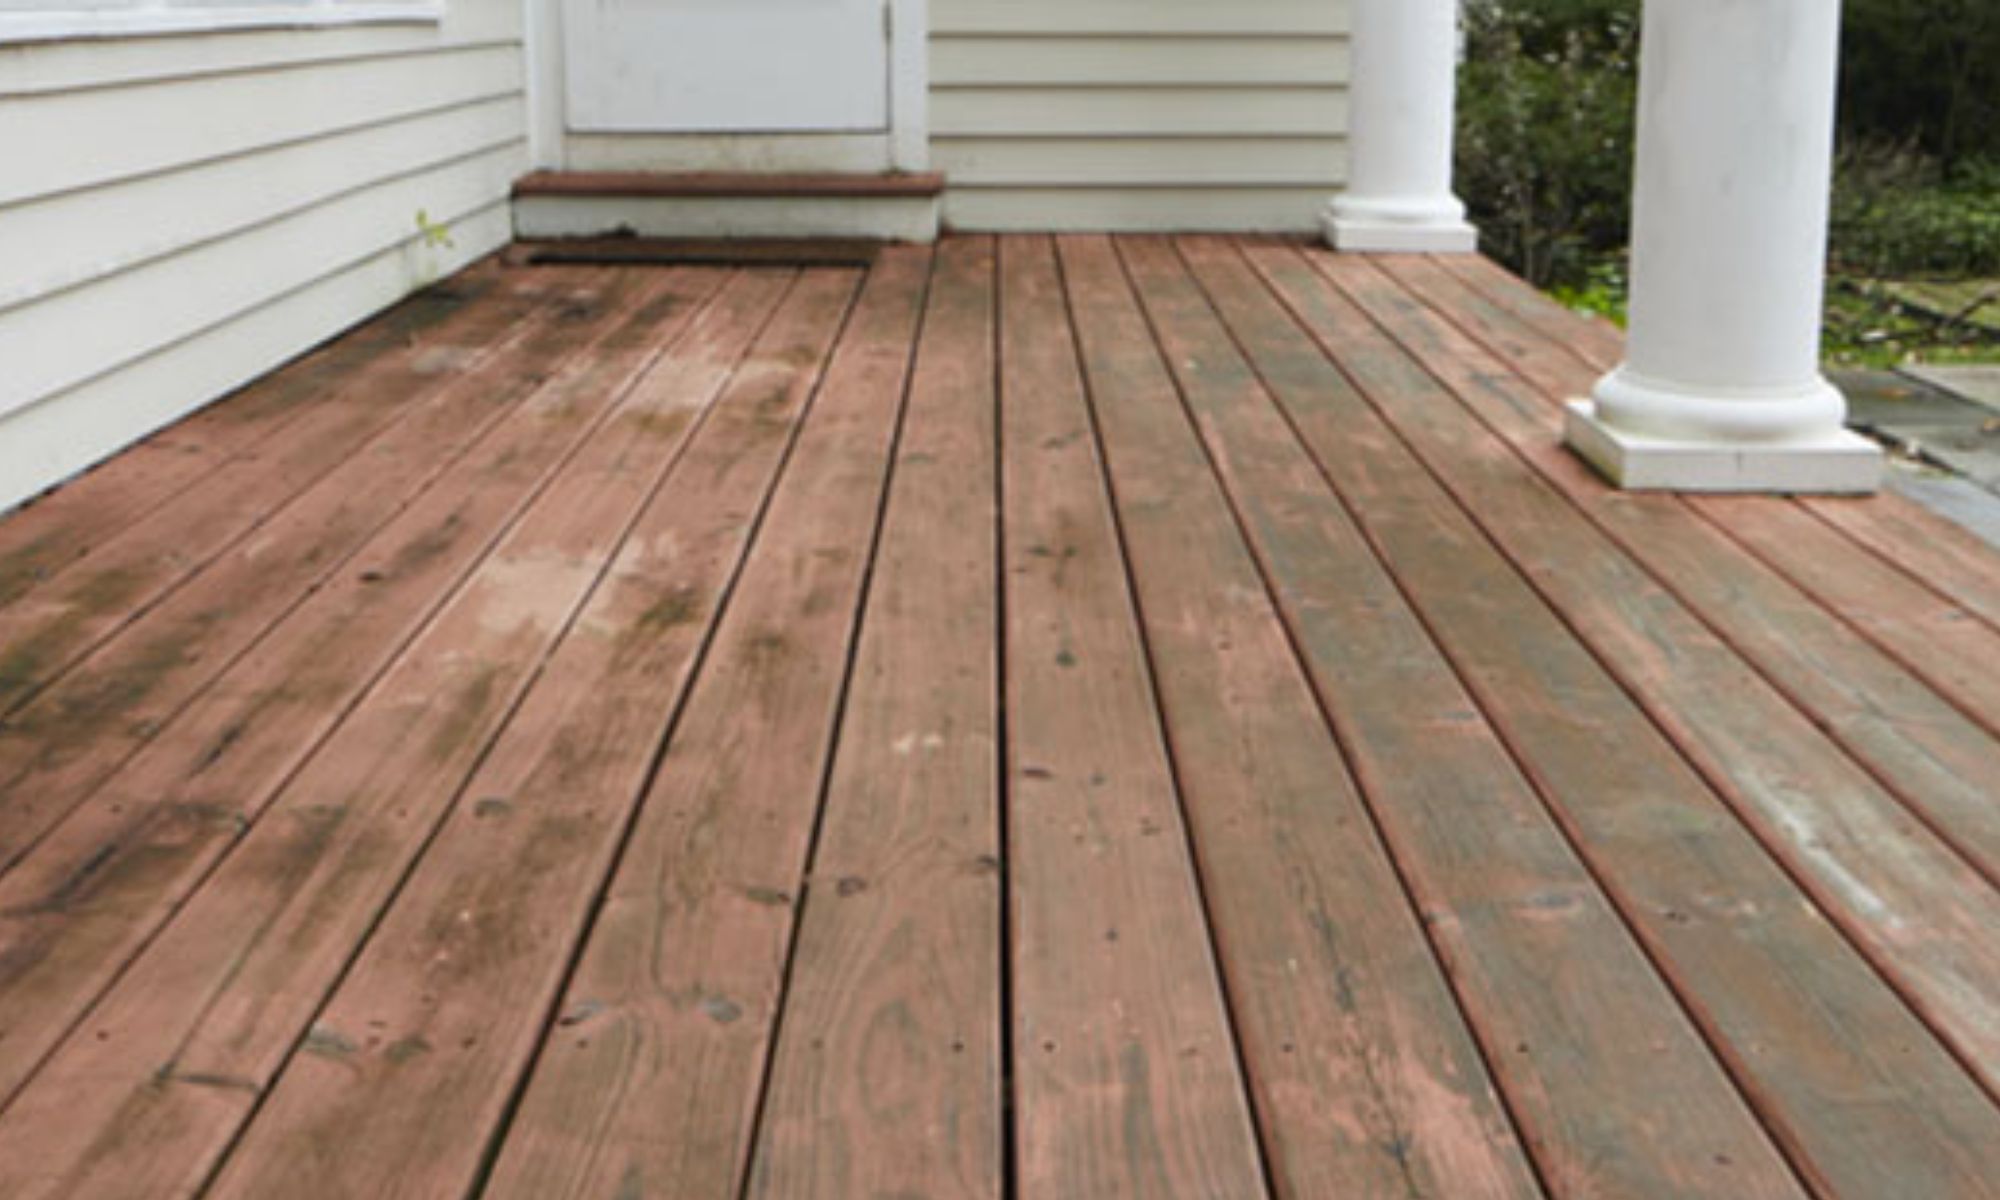
1. Prepare the surface of your old deck
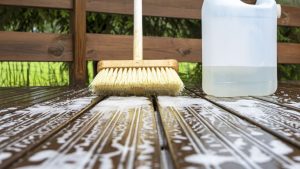
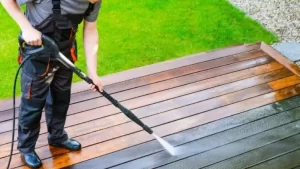
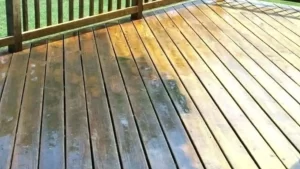
The process of getting your deck ready for a new paint job includes cleaning and sanding the surface of the deck.
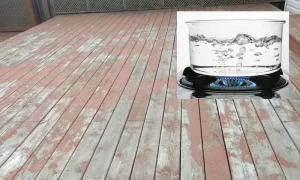
What are the most effective methods for cleaning an old deck?
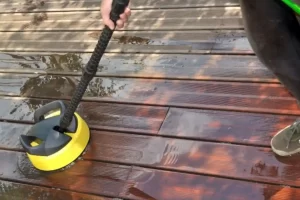
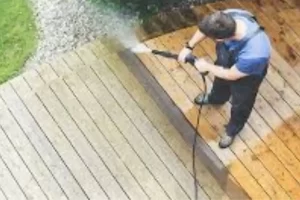
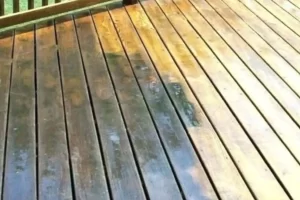
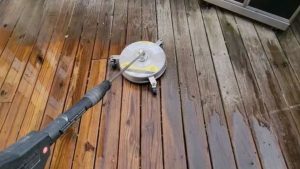
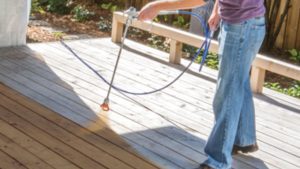
You can also clean the surface with a pressure washer. Power washing is a fast and effective way to remove built-up dirt and grime from the old deck.
However, it can also damage the deck if not done correctly. Power washers use high-powered streams of water to blast away debris. This can be tough on delicate surfaces like wood, so it’s important to be careful when using one.
If you decide to power wash your deck, be sure to use a gentle setting and hold the wand at least six inches away from the surface of the wood.
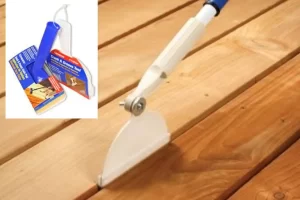
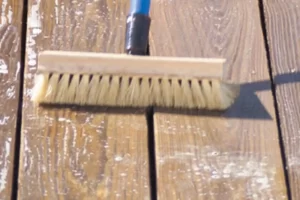
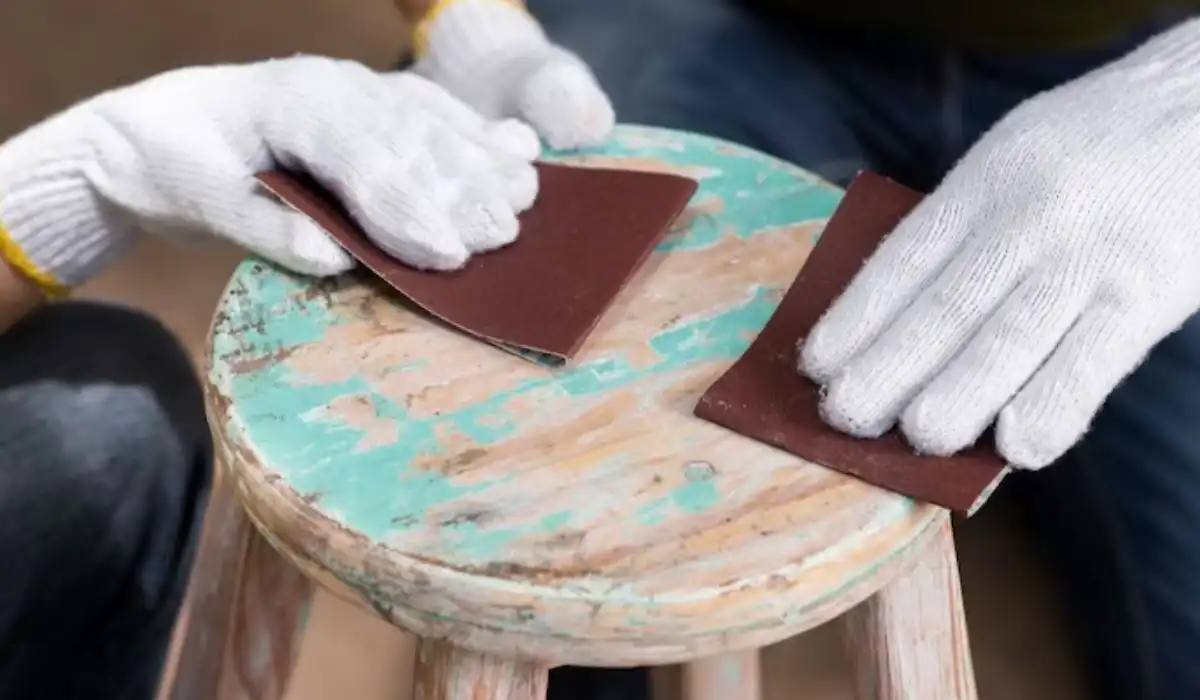
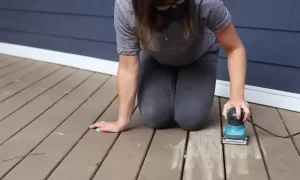
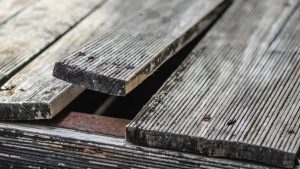
How to Sand an Old Deck?

Sanding is a more traditional way of preparing your old deck for painting. It involves using coarse sandpaper to scrub away dirt and stains. The downside of sanding is that it’s very labor-intensive.
Sanding also runs the risk of damaging the wood if you’re not careful, so be sure to spend time on your knees. if you’re planning on painting your old deck, sanding will give you a smooth surface to work with.
2. Apply a primer

Did you know that applying a primer before painting your deck is actually essential? Here’s why:
A primer helps to create a smooth surface for the paint to adhere to. Without a primer, the paint would sit on top of the rough wood and eventually chip off. By using a primer, you’re ensuring that the paint will last much longer.
In addition, a primer helps to block out stains and discoloration from the wood. This is especially important if you want a light color on your deck. By using a primer, you can avoid using multiple coats of paint to achieve the desired color.
So next time you go to paint your deck, don’t forget the primer! It may seem like an unnecessary step, but it’s actually essential for getting a good finish.
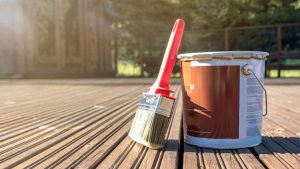
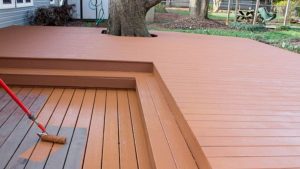
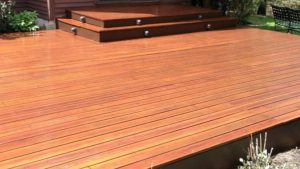
3. Choose your paint
Be sure to select a paint that is specifically designed for outdoor use. This will prevent the paint from peeling or fading over time.
How to pick an ideal paint for an old deck?
What type of paint should you use on the old deck? There are two options: oil-based or latex. Latex paint is cheaper and easier to clean up, but it doesn’t last as long as oil-based paint. If you’re looking for a long-lasting paint job, oil-based paint is the way to go.
What color should you choose? If you want your deck to really stand out, go for a bright color like red or yellow. If you want something more low-key, a light blue or green will do the trick.
With these things in mind, you’ll be ready to choose the right paint for your old deck.
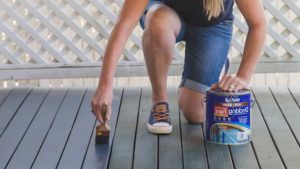
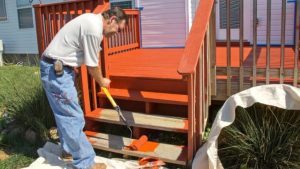
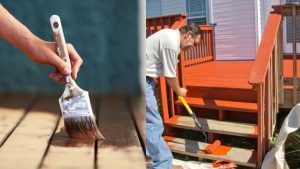
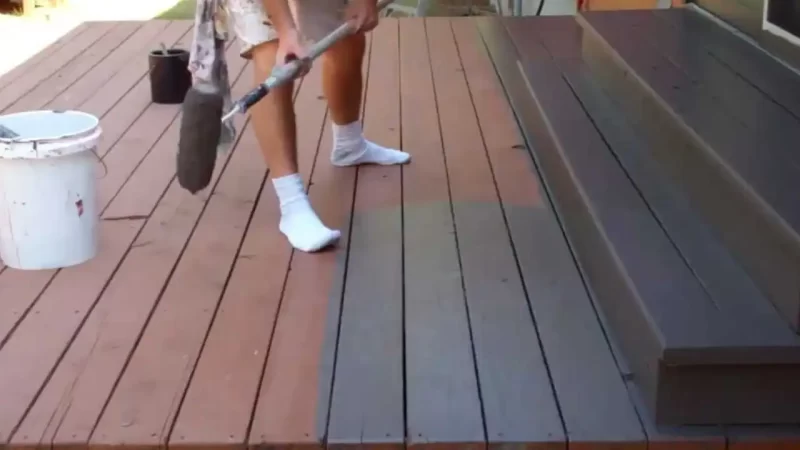
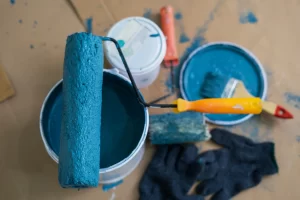
4. Paint the surface of your deck
Here’s how to paint an old deck correctly.
Gather supplies
The first thing you’ll need is to gather your supplies. Good quality paint, some painter’s tape, and a few brushes are all you’ll need to get started. Don’t forget the drop cloths!
Painting the old deck
Once you have your supplies ready, it’s time to get started. Begin by taping off any areas that you don’t want to be painted. Now you’re ready to start painting! Begin with a light coat, then build to heavier coats until you’re satisfied with the coverage.
Now that you know how to paint your old deck like a pro, there’s no excuse not to try it! So what are you waiting for? Grab those supplies and get started!
5. Let the paint dry
After you finish painting, it’s important to let the paint dry completely before walking on it or placing any furniture. This usually takes about 24 hours. After the paint has dried, you should proceed to the next stage.
6. Apply a sealant (optional)
To help protect your investment, it is important to apply a sealant to your old deck after painting.
Here’s why:
- Sealants help to lock in the color of your paint job, so it will stay looking fresh for longer.
- They also provide an extra layer of protection against weathering, so your deck will be better able to withstand sun, rain, and snow.
- Sealants can help to prevent mildew and mold from taking hold, keeping your deck looking clean and new for years to come.
So don’t neglect your old deck – with a little TLC, it can be the pride and joy of your home once again. And when you’re ready to repaint, remember to apply a sealant for the best results.
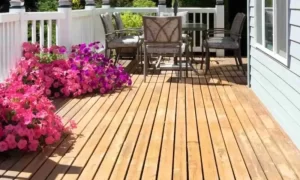
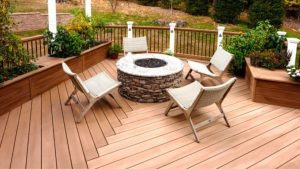
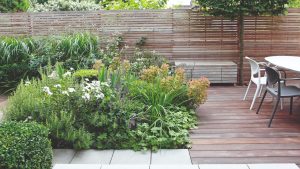
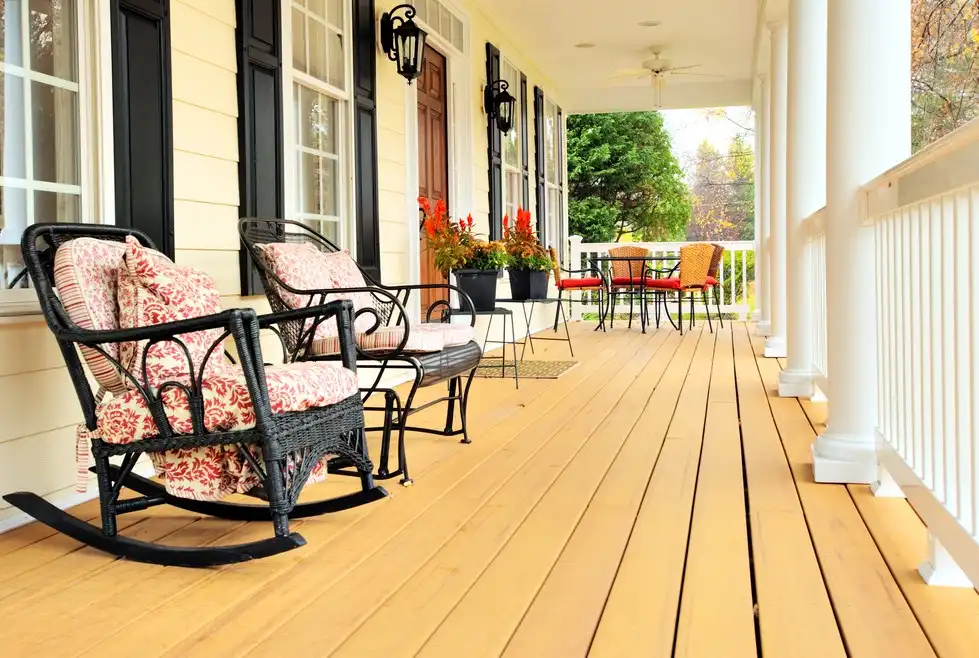
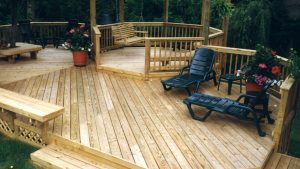
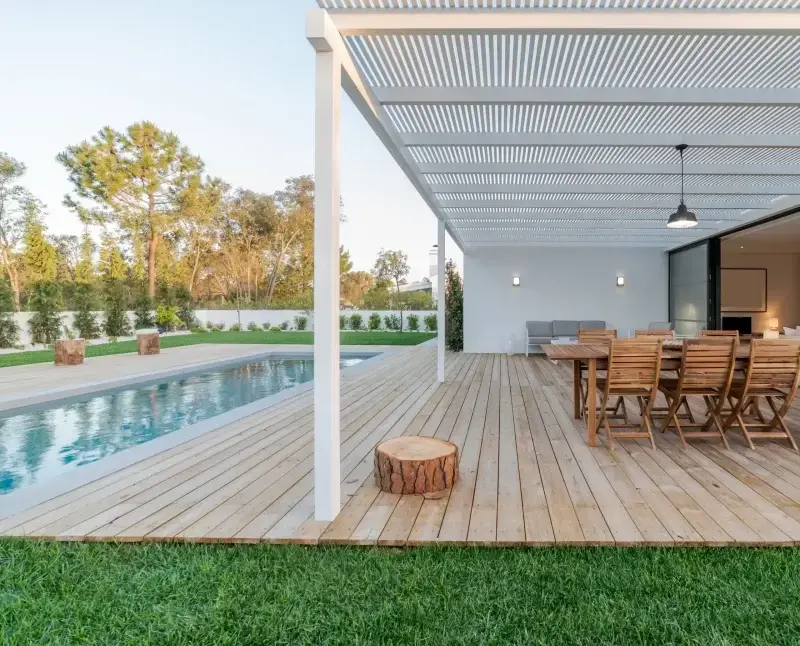
7. Enjoy your new deck!

Here are magically tips to help you enjoy your newly painted deck:
Add some furniture and accessories:
Once the sealant is dry, it’s time to add some furniture and accessories to make the deck more inviting. Add a table and chairs for dining, a chaise lounge for relaxing, and some potted plants for a splash of color.
Don’t forget the lighting:
Deck lights not only add a bit of ambiance, but they also help keep the deck safe at night. Add string lights or lanterns around the deck’s perimeter or install solar lights along the steps.
Following these simple tips, you can enjoy your newly painted deck for years!
Final thought:
Painting an old deck doesn’t have to be a daunting task. By following these seven simple steps and using the right tools, you can have your deck painted in no time – without making a mess. Be sure to visit our blog regularly for more tips on home improvement projects, both big and small.
 One of the biggest mistakes people make when
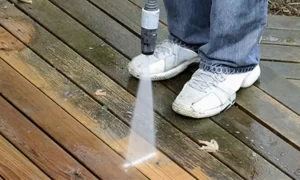


 If you want to add some extra pizzazz to your deck, consider adding some
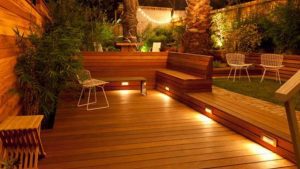


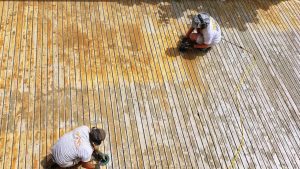
 Once you’ve removed the majority of the paint, it’s time to scrub the deck with a stiff-bristled brush and deck cleaner. This will loosen any remaining paint and dirt on the thick
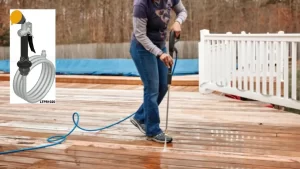


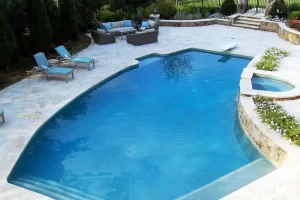
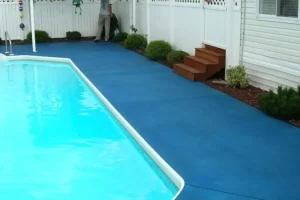
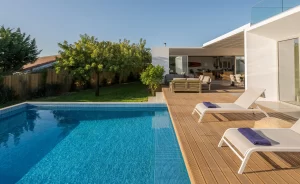
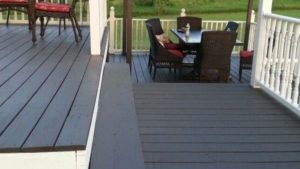
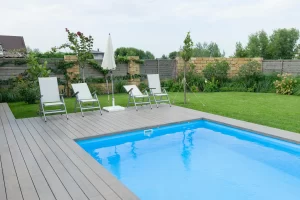
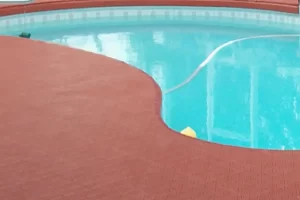 Ready to take the plunge and spruce up your pool this season? After that, you’ll need to pick the right deck paint color to create an inviting atmosphere that will jump out. And we think we know just the hue: bright red.
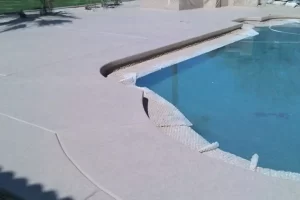 While most homeowners shy away from using gray in their outdoor spaces, Cool Gray is the perfect color for deck paint in your pool. The light color helps to reflect heat, keeping the area cooler on hot days.
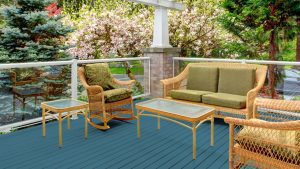
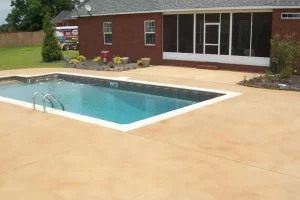 Warm Tan is the ideal color for deck paint for those who wish to enhance the elegance of their pool. This rich, earthy shade instantly adds sophistication and class to any pool area.
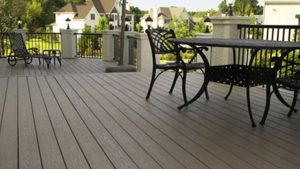
 Forget about conventional pool
 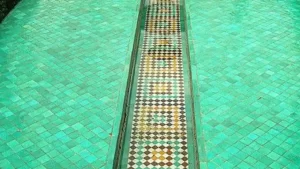 Emerald green is the ideal color for your pool deck because it is both stylish and eye-catching.
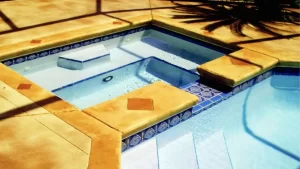 When it comes to deck paint, there are a lot of options out there. If you want to make a serious impact, Sunshine Yellow is the color to use.
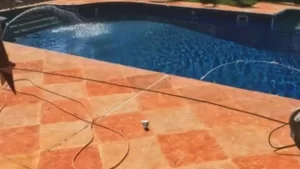 Is your pool looking a little lackluster? Ready for a change? Consider painting it Pumpkin Orange! This rich, vibrant hue will transform your outdoor space into a true oasis.
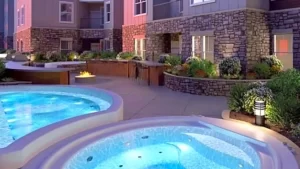 There’s something about a pool that just screams summertime fun. Whether you’re diving in for a refreshing swim or relaxing on a float, a pool is a perfect place to beat the heat.