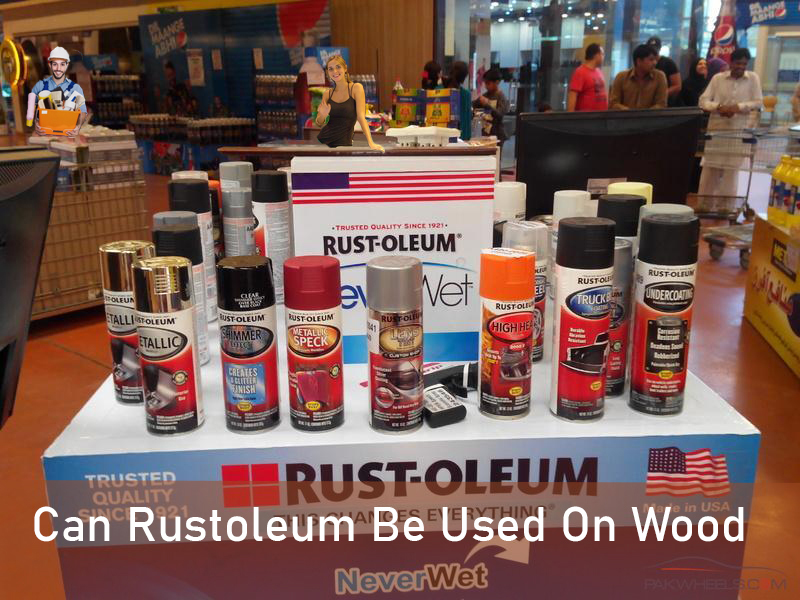
Rust-Oleum is a trusted brand when it comes to paint and coatings. They offer a wide variety of product choices that you can use on many different surfaces, both indoors and outdoors. This brand has been around for over a century and continues to provide high-quality products that are affordable and easy to use.
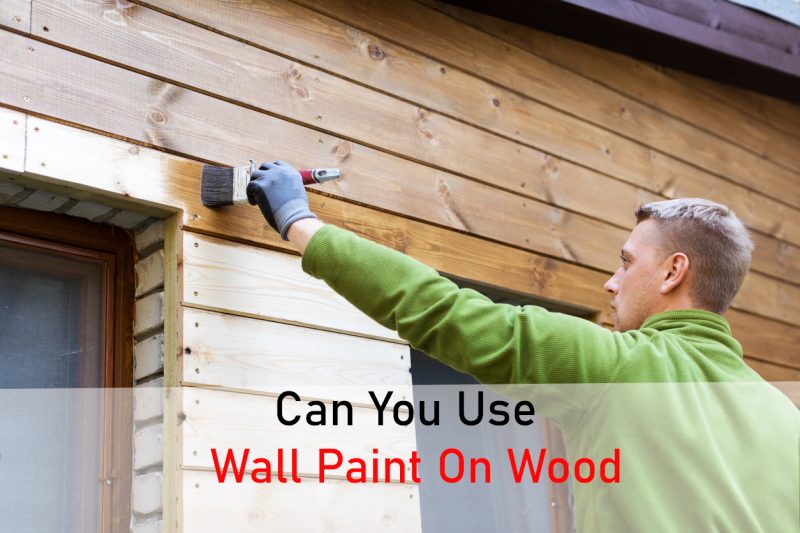
For protecting metal surfaces, Rust-Oleum is a trusted name. But Can Rustoleum be used on wood? The short answer is yes; You can use Rust-Oleum on wood. This versatile product you can use to protect both metal and wood surfaces from the elements. However, it is essential to note that there are some things to keep in mind when using Rust-Oleum on wood.
The Paints Rust-Oleum Offers:
Rustoleum provides a wide variety of paints, but they have different uses, and it is essential to know what you want to use the product for before you buy it. Let’s help you understand the different types of Rust-Oleum products so that you can choose the right one for your project.
Rustoleum Paints:
Rust-Oleum offers various paints, each with its unique purpose. You can use their paints for a variety of different projects, both big and small. The three leading Rust-Oleum paints are primer, paint, and topcoat.
Rust-Oleum Epoxyshield:
If you’re looking for durable paint that can withstand heavy wear and tear, Rust-Oleum Epoxyshield is an excellent option. This paint is perfect for garages, workshop floors, and other high-traffic areas. It is also resistant to stains and chemicals, making it a great choice for industrial settings.
Rustoleum Primer:
The primers offered by Rust-Oleum will help you get the best results from your paint job. These primers will help cover up any imperfections on your surface and provide a smooth finish for your paint.
Rustoleum Enamel:
Enamel-based paints from Rust-Oleum are perfect for both indoor and outdoor projects. This type of paint dries to a hard, glossy finish that is resistant to scratches and stains.
Rustoleum Spray Paint:
Rust-Oleum spray paint is perfect for a quick and easy project. This type of paint is easy to use and you can apply it to various surfaces.
Rustoleum Wax:
Rust-Oleum offers various waxes, each for a specific purpose. Their furniture wax is perfect for protecting and restoring wood furniture. This wax will help to keep your furniture looking new.
Rustoleum Undercoating:
Rust-Oleum undercoating is a great way to protect your vehicle from rust and corrosion. This type of coating will help extend the life of your car by protecting it from the elements.
Rustoleum Rock Solid:
Rust-Oleum Rock Solid is an excellent choice for a durable and long-lasting paint job. This type of paint is perfect for both indoor and outdoor projects. It is also resistant to stains, fading, and chipping.
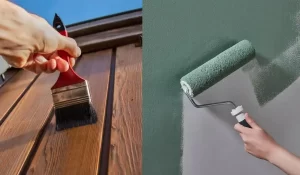
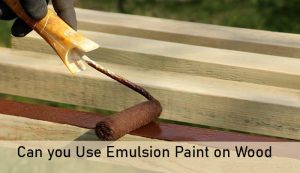
Can Rustoleum Be Used On Wood?
Below, we have explained how the different Rustoleum paints affect.
Can You Use Rustoleum Metal Paint on Wood?
Wood is a porous material, which means that it can absorb paint. This makes it difficult to paint over wood with metal paint. However, if you use Rust-Oleum primer before painting, it will create a barrier between the wood and the paint, making it easier to apply the metal paint.
It is important to note that you should not use Rust-Oleum metal paint on outdoor furniture. This type of paint is not for outdoor use and will not withstand the elements.
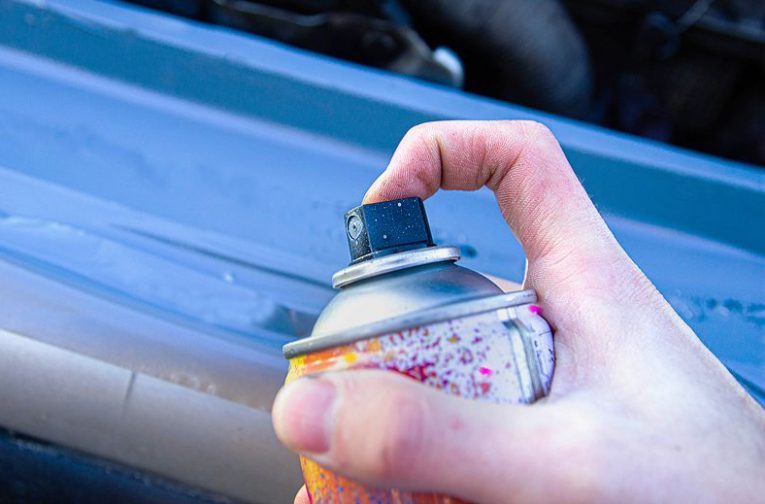
Can You Use Rustoleum Spray Paint On Wood?
Rust-Oleum spray paint is a great choice for various indoor and outdoor projects. You can use it on wood, metal, concrete, and masonry. It’s also rust-resistant and has a variety of finishes to choose the perfect look for your project. Whether you’re painting a piece of furniture or a whole room, Rust-Oleum has the perfect paint for the job.
If you’re looking for an all-purpose spray paint that you can use on various surfaces, Rust-Oleum is a good option. It’s available in a variety of colors so that you can find the perfect shade for your project.
Can You Use Rust-Oleum Spray Paint On Plastic?
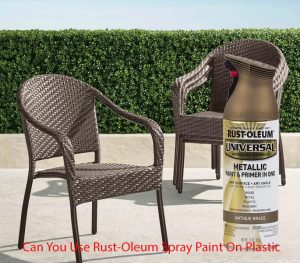
You can use Rust-oleum spray paint on plastic, but it is not recommended for use on surfaces that will come into contact with food or skin. If you are planning to use Rust-oleum spray paint on a surface that will come into contact with food or skin, it is essential to choose a paint that the manufacturer has designed to use on plastic.
Rust-oleum does make spray paint specifically for use on plastic, but it is essential to read the labels carefully to make sure that the paint you select is suitable for your project.
When using Rust-oleum spray paint on plastic, it is also important to keep in mind that the paint will not adhere as well to plastic as it does to other surfaces. For best results, it is recommended that you sand the surface of the plastic before painting. This will help the paint to adhere better and will also give the finished project a more professional look.
Can You Use Rust Coat Paint On Wood?
So Can you use Rustoleum on wood? Yes, You can use Rust-Oleum coat paint on wood. This paint is perfect for protecting surfaces from rust and corrosion, and it can also give your wood a new lease on life with a fresh coat of color.
When applying Rust-Oleum coat paint to wood, sand the surface first and remove any loose paint or debris. Once the surface is prepped, apply a thin layer of paint and let it dry completely before adding a second coat. For best results, use a brush or roller to use with oil-based paints.
What Surfaces Can You Use Rust-Oleum On?
Paints and coatings from Rust-Oleum are known for their quality. Their products provide superior protection and durability. Rust-Oleum has a wide variety of products that you can use on different surfaces. So this is the answer if you ask can I use Rustoleum on wood?
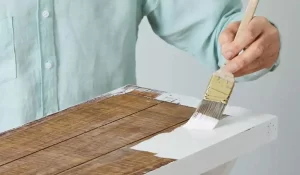
How To Apply Rustoleum On Wood Surfaces?
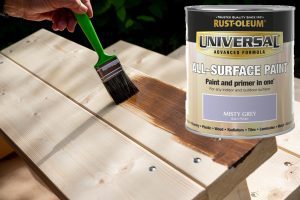
Rustoleum is a famous brand of paint and primer that you can use on various surfaces, including wood. When applying Rustoleum to wood, it is important to follow the directions on the can carefully to achieve the best results.
Sand the Surface:
Sanding the wood surface before painting is always a good idea, no matter what type of paint you are using. If the wood is particularly rough, you may want to use finer grit sandpaper. This will help the paint adhere better and create a more smooth and even finish.
Clean the Surface:
After sanding, it is important to remove any dust from the surface before painting. The best way to do this is to use a tack cloth or a damp cloth. Once the surface is clean, you are ready to start painting!
Application:
You can apply Rustoleum with a brush, roller, or sprayer. If you are using a brush, load it with paint and then tap off any excess onto a piece of cardboard or paper. Start painting in the middle of the surface and work your way outwards. For best results, use long, even strokes.
If you are using a roller, load it with paint and then roll it onto a piece of cardboard or paper to remove any excess. Start painting in the middle of the surface and work your way outwards. For best results, use long, even strokes.
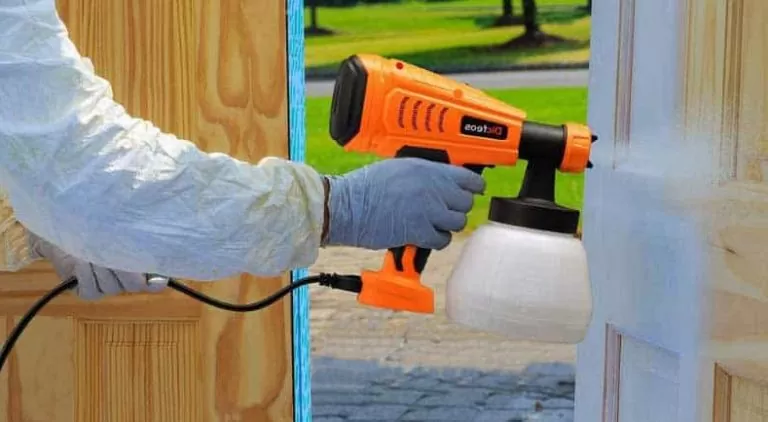
If you are using a sprayer, hold it about 10-12 inches away from the surface and begin spraying. Move the sprayer back and forth evenly to cover the entire surface.
Let the First Coat Dry:
After applying the first coat of paint, let it dry for at least 4 hours before applying a second coat. If you are using a fast-drying formula, you may be able to apply the second coat after only 2 hours.
Apply a Second Coat:
Once the first coat is dry, apply a second coat of paint. Again, start in the middle of the surface and work your way outwards. Let the second coat dry for at least 4 hours before using the surface.
And that’s it! You can easily apply Rustoleum to wood surfaces and achieve great results by following these simple steps.
How to Paint Wood with Rustoleum Enamel Paint?
Enamel paint is a type of paint that dries to a hard, durable finish. you can use it on wood surfaces as it provides a long-lasting and protective coating. Rustoleum enamel paint is a popular choice for painting wood, as it is easy to use and provides excellent coverage.
When painting wood with Rustoleum enamel paint, it is important to follow the instructions on the label. For best results, use a primer before applying the paint. This will help to ensure that the paint adheres properly to the surface and provides a smooth, even finish.
It is also important to sand the surface of the wood before painting. This will help create a smooth surface for the paint to adhere to. After sanding the surface, wipe it down with a damp cloth to remove any dust.
Before beginning, always test the paint on a small wood area to ensure that you are happy with the color and coverage. Once you are ready to begin, paint the wood in long, even strokes. For best results, use a brush or roller for use with enamel paint.
You can apply enamel paint directly to bare wood or over a primer. If you are painting over a primer, make sure that the primer is completely dry before proceeding. Once the paint is dry, you can apply a clear sealer to protect the finish.
What Are Some Benefits of Rustoleum wood paint?
- Long-lasting paint that will protect your wood surfaces for years to come.
- Easy to apply and provides excellent coverage.
- Dries to a hard, durable finish.
- It is available in a variety of colors to suit your needs.
- It is inexpensive and easy to find.
Painting wood with Rustoleum enamel paint is a quick and easy way to update the look of your home. With its long-lasting finish and easy application, it is the perfect choice for any do-it-yourselfer.
Frequently Asked Questions:
Does Rustoleum need primer?
You should prime the paint before application for best results. Paint will adhere to the surface properly and provide a smooth, even finish if this is done.
What is Rustoleum used for?
Rustoleum is a type of paint that dries to a hard, durable finish. painters often use it on wood surfaces to provide a long-lasting and protective coating.
Is Rustoleum oil-based?
Rustoleum provides both oil-based and water-based products. Check the product’s label you are using to determine which type it is.
Is Rustoleum Spray Paint Good for Wood?
Wood is an excellent surface to paint with Rustoleum enamel paint, as it is simple to use and provides excellent coverage.
Can spray paint be used on wood?
You can use spray paint on wood, but it may not adhere well and could chip or peel. It’s usually best to prime the wood first with a product like Rust-Oleum primer. You can then paint over it with any color of Rust-Oleum spray paint.
Can you use Rustoleum paint on wood doors?
Yes, you can use Rustoleum paint on wood doors. Rustoleum is a brand of paint known for its durability and ability to resist fading and chipping. It is also easy to apply and clean up.
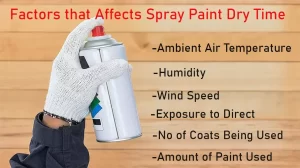
How long should Rustoleum spray dry before sanding?
You can use Rustoleum spray paint on wood, but you should allow it to dry for at least 24 hours before sanding. By doing this, the paint will fully cure and won’t come off easily.
How do you use Rust-Oleum spray on wood?
Spray a light, even coat of Rust-Oleum Universal All Surface Spray Paint in the desired color on your project surface. For best results, apply two or more light coats a few minutes apart.
Does Rustoleum waterproof wood?
Rustoleum does not waterproof wood. However, you can use it to seal and protect the wood from weathering and UV damage.
Conclusion:
Rustoleum is a paint that is specifically designed to prevent rust. When you ask can Rustoleum be used on wood? Yes, you can use it on wood, but it is not recommended to use bare wood because it will not adhere correctly. You should only use Rustoleum on top of a primer or paint already on the wood. If you are looking for paint to use on wood that will prevent rust, Rustoleum is a good option.


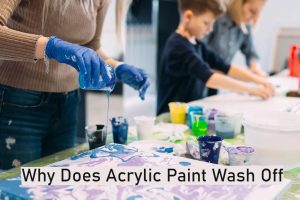
 There are many ways you can make your acrylic paintings weather-resistant and increase their longevity. This blog post will show you some tips on how to make your acrylic paint projects weatherproof so they last for years instead of weeks! So let’s get started.